How long does a gel pedicure last? A gel nail polish pedicure can last for at least 3 weeks.
Depending on your footwear and your lifestyle you can even make it last for 1.5-3 months!
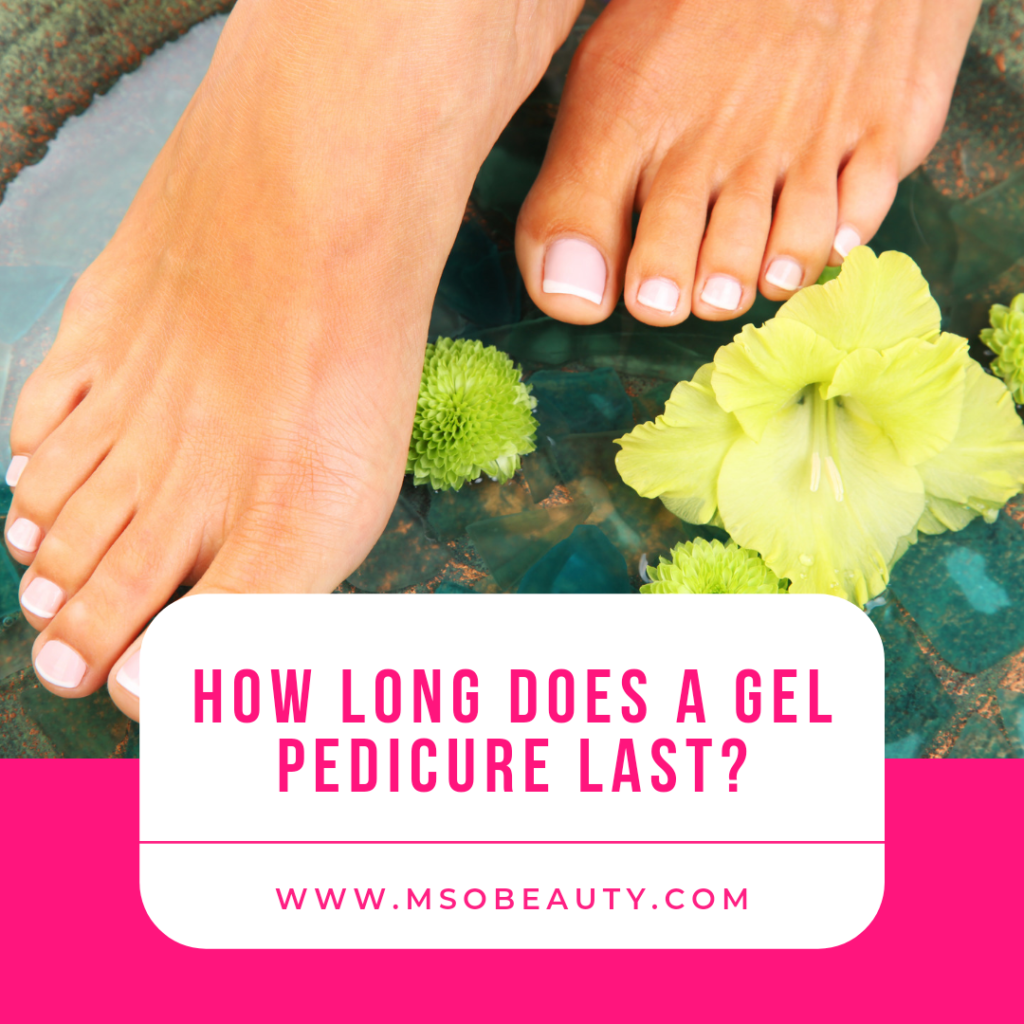
How long does a gel pedicure last?
Gel pedicure really lasts forever. If you apply it properly it will stay until you get tired of it or until your toenails grow out too much.
Plus, all the time while your gel pedicure lasts it remains fresh, bright, and glossy.
In addition to that, gel nail polish protects your toenails from damage.
All this makes a gel pedicure ideal for a vacation, for example. You won’t have to worry about visiting a salon or re-doing your gel toenails until you get back home.
Why does a gel pedicure last that long?
1. Toenails grow a lot slower than the nails on your fingers
Fingernails grow at least 3 times faster than toenails.
That’s why you get the unsightly bare strip near the cuticle line faster with a gel manicure than with a gel pedicure and have to re-do it more often.
2. Toenails get less wear and tear
After all, toenails are covered by your shoes and you don’t use your feet for picking things up or for opening cans, or any stuff like that.
That’s why your pedicure receives less damage and stays protected from any wear and tear that a manicure receives with daily use.
This makes your gel pedicure less likely to chip or lift than your manicure.
What’s the difference between a regular and a gel pedicure?
A gel pedicure is done using gel nail polish and a regular pedicure only involves regular nail polish.
Gel nail polish is a very long-lasting type of nail lacquer.
You need to polymerize it under a UV lamp and thanks to its chemical composition, a thicker layer of product than regular lacquer, and its polymerization process, it can last up to 2-3 weeks on your hands and make your gel pedicure last for 3-12 weeks.
Whereas a regular nail polish dries in a thin coat without a lamp. So it will only stay for 3-7 days on your nails and a week or 2 on your feet.
Gel polish is also more convenient when it comes to drying it.
Gel nail polish polymerizes under a UV/LED lamp in 1-2 minutes.
So you can put your shoes back on right after you’ve done your gel pedicure without worrying about it smudging.
With regular nail polish, you must wait for it to fully dry for at least 10 minutes. So you’ll have to sit there doing nothing while it dries or your new pedicure will get smeared.
What does the lasting time of a gel pedicure depend on?
1. The health of your toenails
If you have nail fungus or your toenails are thin, brittle, or peeling you shouldn’t use gel nail polish.
It will only make the matter worse.
Plus, gel nail polish only stays well on healthy toenails.
First, you have to cure any problems and only start doing gel pedicures after you’ve got the all-clear.
2. The proper application process, including nail prep
If you prepare your toenails and apply gel nail polish to them properly this will ensure your gel pedicure lasts for weeks without lifting.
This means you need to remove all the stubborn cuticles and make the nail plate clean and free of moisture.
3. The quality of gel nail polish and prep products that you use
The better the polish and other products, like base coat, top coat, dehydrator, and primer are the longer they will stay because they won’t produce any unpleasant surprises and will be safe for your nails.
How to make my gel pedicure last longer?
Keep your toenails healthy
Again, one of the most important factors contributing to the longevity of your gel pedicure is the health of your toenails.
You’ll need to get rid of fungus and other problems and strengthen the nail plate to be able to do a proper gel pedicure.
Keep moisture away
Keep your feet and toenails dry for 2 to 3 hours before the treatment.
And after your gel pedicure is done, you should avoid getting your nails wet for at least 2 hours.
Prep the nails
Nail prep is a crucial step for any gel manicure or pedicure.
You need to get rid of anything that gets in the way of gel nail polish and prevents it from sticking to your toenails.
First, you should file down any excess length and remove all the overgrown cuticles.
You can use a cuticle remover and push back the cuticles with a pusher or an orangewood stick.
After that, buff the nail plate slightly with a 220/240 nail file to roughen it.
Gel polish clings better to a slightly rough surface and tends to lift off a very smooth and polished nail.
The most important step in toenail prep is getting rid of any remaining moisture.
That’s why using a dehydrator is a must for a pedicure since many people’s feet are prone to sweating.
After you’ve dehydrated your toenails, apply a bit of acid-free primer to the free edge of your toenails.
This area is where most of the lifting and chipping occurs and where your shoes usually rub the most.
And nail primer is like a double-sided sticky tape for nail polish. It helps it stay there without lifting longer.
Use a base coat
A base coat is another product that helps your gel nail polish stay on the toenails.
There are 1-step and 2-step gel nail polishes which don’t need a separate base coat.
However, if you want your gel pedicure to last for a very long time a base coat is indispensable.
Apply at least 2 thin color coats
If you only use one color coat the polish may go on in streaks and the color won’t look as deep and opaque as you want it to be.
Two or more coats of color gel nail polish will provide better coverage.
Plus, they will be more resistant to the rubbing that your nails receive inside the shoes than just one coat of polish.
Make sure all the coats you apply are very thin.
Thin layers of gel polish polymerize faster and better.
In addition to that, they have a stronger staying power, unlike thick layers, which may fail to get cured properly and can lift in large chunks.
Always cap the free edge
While many nail techs no longer cap the free edge when performing a manicure, it’s still a must for a gel pedicure.
Capping the free edge means dragging the brush with the polish along the free edge and over the free edge of the nail so that the end of your nail gets covered with polish.
You should cap every layer of polish that you apply, including the base coat, all the color coats, and the top coat.
This makes the tip of the nail smooth and really helps against chipping.
Use a top coat
The top coat is another layer of protection over your gel pedicure.
It helps the polish stay chip-free and shields it from being rubbed off by shoes.
So always choose gel polishes that have a separate top coat for your gel pedicure to last longer.
You can get all the nail prep supplies, base coat, and top coat of you buy the excellent Gelish Fantastic Four Kit.
Recommended reading:
How To Dry Gel Nail Polish Fast: 10 Tips And Tricks
How Long Does Essie Nail Polish Take To Dry?
What Color Nail Polish Goes With A Burgundy Dress?
Gelish Vs Shellac: What’s The Difference Between Gelish And Shellac?
6 Best Coral Nail Polishes And Polish Sets
4 Best Jelly Gel Nail Polish Sets
Best Shellac Colors For French Manicure
Best Professional Gel Nail Polish Brands Used In Salons
Non-Toxic Gel Nail Polish Brands 101: Choose The Safest Gel Nail Polish
Best No Light Gel Polish — Gel Nail Polish Without UV Light
Best Gel Base And Top Coat: The Updated List Of The Best Gel Nail Base And Top Coat Sets
Best Small Salon Reception Desk For A Tight Space: Make An Amazing First Impression!

