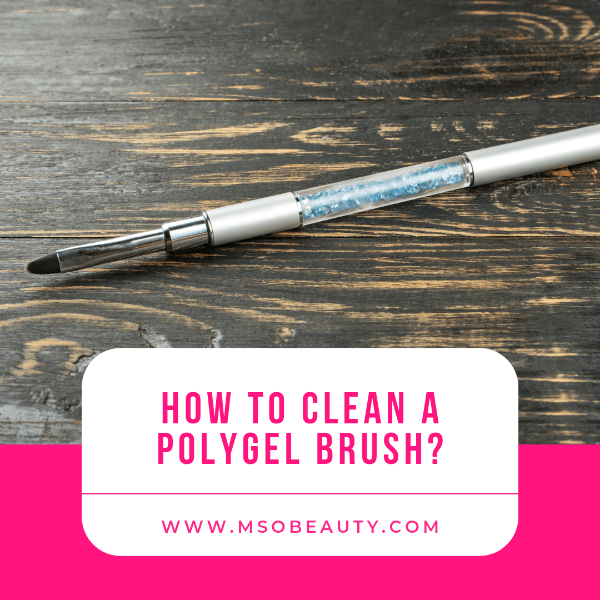
Brush cleaning is an essential step in nail extensions application. It’s better to clean your polygel brush right after you’ve done shaping your artificial nails to prevent it from becoming stiff and unusable.
When you clean your nails art brushes regularly, it ensures that the bristles are not being damaged by product residue. Cleaning your brushes can extend their lifespan by years. This guide will help you learn how to clean your polygel brush like a pro.
Why should I always clean my polygel brush?
Never leave your polygel brush on the table with polygel still stuck to it.
This is because UV rays from your lamp may get reflected and will fall on the brush.
This will make the remaining polygel get polymerized and permanently stuck to the bristles of your brush.
The brush will become rock hard.
You won’t want that to happen because this will ruin the brush irreparably.
You can’t clean polygel from a brush once it’s cured.
Polygel can’t be soaked off. You can only remove it by filing it off. So you won’t be able to soak it off the brush.
You’ll just have to throw it away.
Even weak natural UV rays from the sun can still cause some polymerization or thickening of the material on the brush.
That’s why you have to make sure you have cleaned the brush thoroughly right after you have finished applying polygel.
In addition to that, keep your brush in a dry dark place and close it with a cap to prevent light from impacting the quality of the brush.
What should I use to clean my polygel brush?

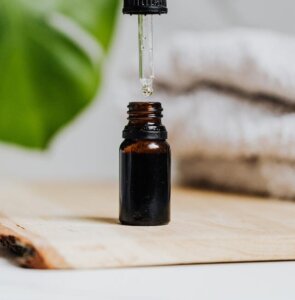
You can use polygel slip solution, Isopropyl Alcohol, or 70% and above rubbing alcohol to remove any bits of polygel from the brush.
How to clean a polygel brush step by step
- Dip the brush into slip solution poured into a dappen dish.
- If anything is still stuck to it, wipe it off with a lint-free wipe but don’t rub.
- This is almost always enough to get rid of any remaining polygel.
- No need to soak the brush for a long time in slip solution.
- If the material is stubborn you can gently press the brush against a flat surface to fan out the bristles.
- Use an orangewood stick to remove the remaining material stuck to the bristles.
- After cleaning, pat dry the bristles between two paper towels.
- Most polygel brushes are made from synthetic material and can withstand alcohol quite well, they don’t need too much special care.
- However, the downside of using slip solution or alcohol for cleaning polygel brushes is that they make the brush frizzy.
- And you need the bristles to stay together for applying and shaping polygel properly.
- So after you have used slip solution, rinse the brush with water or even wash it using mild soap and cool water.
- Just make sure the brush is fully dry before you use it next time.
- Moisture makes polygel lift from the nail’s surface. So you wouldn’t want water to be left on your polygel brush.
- Pat your brush dry gently with two paper towels. Then lay your brush on a dry clean paper towel and let it air dry for a few hours in a dark place.
- Don’t use a UV lamp to dry the brush. The brush should be away from UV rays when it’s drying.
How to keep the bristles together after cleaning?
If your brush has become too frizzy you can use this trick to bring the bristles together and return the perfect shape to the brush for applying and shaping polygel.
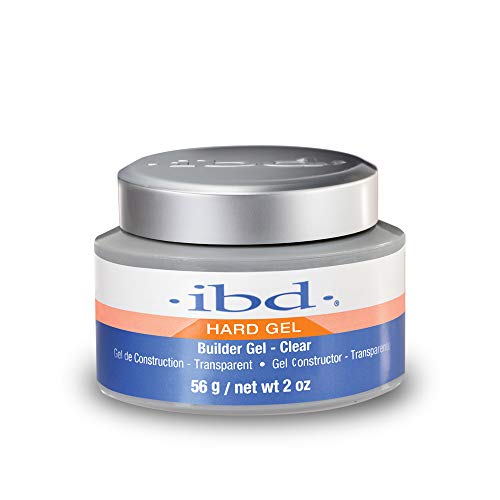
This video advises you to use some clear builder gel to “glue” the bristles together.
If you follow this method, you need to take a bit of builder gel, spread it over a lid or a shallow dish and wipe your brush against this thin layer of gel until the bristles get glued together.
You can also use a clear gel top coat or a thick clear gel base coat for that if you don’t have builder gel on hand.
After you’ve done it, don’t remove the builder gel. It should stay on the bristles to keep them together.
However, since this method requires you to leave the clear builder gel on your brush, you’re going to have pretty much the same problem as when you have polygel left on your brush.
Just like polygel, builder gel will harden when exposed to the light of the sun or reflected rays from the lamp.
And most builder gels can’t be soaked off either. You’ll have to throw away the brush if the material gets accidentally cured on it.
That’s why you should always keep the brush in a dark place, with its cap on, and away from the UV lamp or the window.
What should I never use to clean my polygel brush?
There are some popular substances that many people use to clean their polygel brushes, not realizing they are ruining them.
Oil
Never use cuticle oil or any other oil to clean your polygel brush.
Oil will make your polygel nails lift when you’re going to be using this brush the next time.
After all, an important step of your polygel manicure should be nail prep. You need to cleanse and de-oil your nail plate.
Oils and moisture left on the nail plate are the number one reason why your polygel nails are lifting.
And if you use oil on your brush it will inevitably leave residue on the nails and the polygel material so it will fail to stick.
Acetone
Never use acetone to clean your polygel brush.
It’s very harsh on the bristles.
Acetone overdries them, and can even melt the material they’re made from.
Boiling water
Avoid using boiling water to soak polygel off your brush.
This can destroy the bristles of your brush as well.
Recommended reading:
Best Polygel Nail Kit Reviews And How To Apply Polygel At Home
Best Glitter Polygel Nail Kits
Best And Safest Neon Polygel Nail Kits
Best Polygel Dual Forms For Perfect Nail Extensions
Is Polygel Bad For Your Nails? 9 Reasons Why It’s Safe
How To Dry Polygel Without A UV Light
Can I Use Water As A Slip Solution For Polygel?
What Is Polygel Made Of? Polygel Ingredients Explained
Best Professional Gel Nail Polish Brands Used In Salons
Non-Toxic Gel Nail Polish Brands 101: Choose The Safest Gel Nail Polish
Best No Light Gel Polish — Gel Nail Polish Without UV Light
Best Small Salon Reception Desk For A Tight Space: Make An Amazing First Impression!