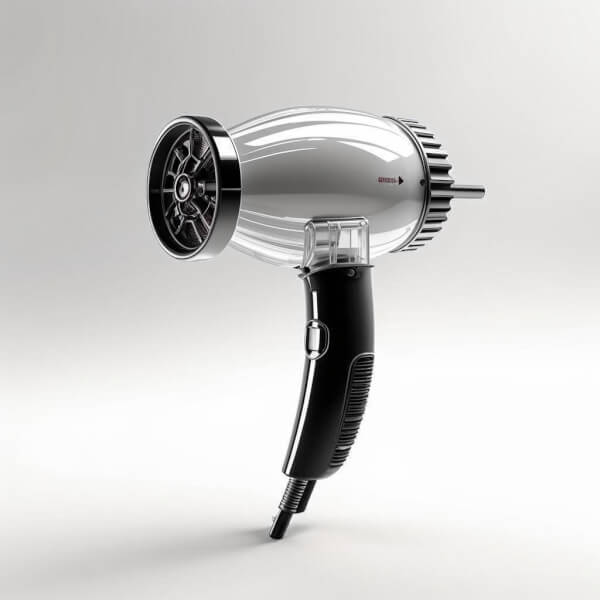
Looking for a quick fix to dry gel nail polish at home? You may have come across the suggestion for curing gel nails with a hair dryer. But is this really possible?
In this article, we will explore the truth behind this popular beauty myth.
Can You Cure Gel Nails with a Hair Dryer?
In short, no, but with a small exception.
Read on to find out:
Gel nails are a fantastic way to achieve long-lasting, chip-free manicures, but curing them properly is crucial.
Let’s dive into why a hair dryer won’t quite cut it for curing gel nails:
1. The Science Behind Gel Nails:
Gel nails, including gel polish and hard gel nails, are designed to be cured or polymerized.
This process is what transforms the initially liquid gel into a solid, durable finish.
Unlike regular nail polish that air dries, gel nails need a bit more effort and a special lamp.
2. The Role of UV or LED Lamps in Curing Gel Nails:

The key to curing gel nails lies within the power of UV or LED lamps.
These lamps emit specific wavelengths of light that activate the chemicals in the gel, kick-starting the polymerization process.
This process transforms wet polish or builder gel into a solid coating, overlay, or hard nail extensions.
3. The Hair Dryer’s Limitations:
Now, here’s where the hair dryer falls short.
The air flow from it can make the top surface of the gel polish feel a tad less sticky.
However, it lacks the essential UV or LED light to initiate that polymerization reaction within the gel.
This means the interior layers of the gel will remain uncured and still liquid.
4. One trick for curing gel nails with a hair dryer.
There is one exception to the rule I’ve mentioned above though.
You can cure “gel” nails with a hair dryer if you use a gel-like polish.
Take, for instance, the remarkable Sally Hansen Miracle Gel and Vinylux.
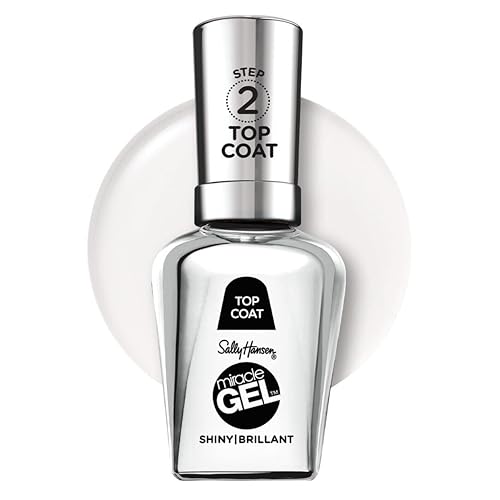
Gel-like polishes are different from true gel nails.
They’re regular lacquers with special top coats that give them more longevity and higher shine.
These polishes air dry.
And you can help them dry faster with a hair dryer on a cool setting.
I’ll go over these polishes in more detail below.
So in a nutshell, while a hair dryer can be a bit helpful for regular and gel-like nail polish, it’s no match for the superpowers of a UV or LED lamp for curing gel nails.
How do gel nails dry?
UV and LED lamps cure gel nail polish through a process called polymerization.
1. Gel Nail Polish Composition:
To understand the magic behind these lamps, we first need to look at what gel nail polish is made of.
This polish typically contains a combination of oligomers (short chains of molecules), monomers (single molecules), photoinitiators, and pigments.
The photoinitiators are the key players here.
2. The Role of Photoinitiators:
Photoinitiators are special molecules that are sensitive to UV or LED light.
When exposed to specific wavelengths of light, they undergo a chemical reaction known as photopolymerization.
This process involves the breaking of certain chemical bonds and formation of new ones.
3. Initiating Polymerization:
When you apply gel nail polish to your nails and then place them under a UV or LED lamp, the lamp emits light in a spectrum that activates the photoinitiators in the gel.
This activation starts a chain reaction within the gel’s molecular structure.
4. Cross-Linking:
When the photoinitiators absorb energy from UV or LED light, they become extremely reactive and stimulate the bonding of oligomers and monomers in the gel.
This linking is called cross-linking.
And it’s crucial for the transformation of the liquid gel into a solid form.
5. The Solidification Process:
As the cross-linking continues, the gel gradually solidifies.
This is what gives gel nails their durability and resistance to chipping.
The newly formed network of linked molecules creates a sturdy, flexible, and long-lasting nail surface.
6. Speed and Efficiency:
One remarkable aspect of UV and LED lamps is their speed and efficiency.
The light emitted is precisely tuned to activate the photoinitiators without generating excessive heat.
This makes the curing process pretty comfortable and quick.
7. The Versatility of LED Lamps:
Both UV and LED lamps are effective.
But LED lamps have gained popularity due to their energy efficiency, longer lifespan, and the ability to cure gel nails in a shorter time.
LED lamps emit a specific spectrum of light that’s well-matched to the photoinitiators in modern gel nail formulations.
How to dry gel polish with a hair dryer?

Brands like Sally Hansen, Essie, and CND Vinylux are manufacturing what they call “gel polishes”.
These polishes are cleverly marketed because they share some similarities with real gel nails but without the need for UV or LED lamps.
Here’s the scoop:
1. They’re Regular Lacquers:
These gel-like polishes are actually regular nail lacquers.
They don’t contain the same formula found in true UV/LED-cured gel nail systems.
And they don’t have photoinitiators.
2. Special Top Coats:
What makes them stand out is their specially formulated top coats.
These top coats are designed to give your regular nail polish a boost in longevity and shine, somewhat mimicking the glossy finish of gel nails.
3. Air Dry Magic:
Unlike true gel polishes that require UV or LED curing, these gel-like lacquers air dry just like your typical nail polish.
You don’t need any fancy equipment to set these polishes.
4. Longevity:
While they won’t last as long as real gel nails, they can still provide extended wear compared to standard nail polishes.
These manicures can stay intact up to a week or more.
5. The Hair Dryer Hack:
If you’re in a hurry and want to speed up the drying process, you can indeed use a hair dryer on a cool setting on these polishes.
It helps to lock in the color and top coat, making them touch-dry quicker.
How to dry UV gel nails properly
Achieving a flawless and durable manicure is a breeze with the simple process of applying gel nails and curing them using a UV or LED lamp. All you need are a few essential tools and supplies to make it happen.
Here’s a detailed list of what you’ll need:

1. Gel Nail Polish: Choose your favorite gel nail polish color or brand.
Ensure it’s a gel formula specifically designed for curing with UV or LED lamps.
Gel polishes are available in a wide range of colors, finishes, and effects.
2. Gel Base Coat and Gel Top Coat:
These are essential for a flawless gel manicure.
The gel base coat provides a smooth surface for the color polish to adhere to.
And the top coat adds shine and durability.
3. UV or LED Lamp:
This is the heart of the curing process.
To activate the photoinitiators in the gel polish and polymerize it, a UV or LED nail lamp is necessary. It emits the exact wavelengths of light required for this process.
Choose a lamp that suits your needs.
LED lamps are more energy-efficient and faster than UV lamps.
4. Nail File and Buffer:
Prepare your nails by gently filing them into your desired shape and lightly buffing the surface.
This helps the gel adhere better and creates a smooth finish.
5. Nail Cleanser and Lint-Free Wipes:
These are used to cleanse the nails before applying gel polish.
The cleanser removes oils and residue, preparing a clean, dry surface for the gel.
6. Isopropyl Alcohol (Rubbing Alcohol):
It’s handy for wiping away the sticky residue on the top coat after the manicure process, and for cleaning the nail surface.
7. Cuticle Pusher and Nippers:
Use these tools to push back and trim your cuticles, creating a clean canvas for your gel polish application.
8. Cuticle Remover:
This product helps to gently soften and dissolve cuticles and dead skin around the nail bed.
9. Gel Polish Remover:
For future touch-ups or when you want to change your gel manicure, you’ll need gel polish remover.
Acetone is commonly used for this purpose.
10. Nail Art Supplies (Optional):
If you’re feeling creative, you can have nail art supplies like rhinestones, decals, or nail stamping kits on hand to personalize your gel manicure.
11. Clean Workspace:
Set up your workspace with adequate lighting and ventilation.
Make sure you have a clean, clutter-free area to work on your nails comfortably.
How to apply and cure gel nails step-by-step
Here’s a step-by-step guide for curing gel nails with a UV or LED lamp instead of a hair dryer:
Step 1: Prepare Your Nails
Start by ensuring your nails are clean and free from any old polish or residue.
Gently file your nails into your desired shape and lightly buff the surface to create a smooth canvas for the gel polish.
Step 2: Push Back and Trim Cuticles
Use a cuticle pusher to gently push back your cuticles.
If needed, trim any excess cuticle or dead skin using cuticle nippers.
This step helps to create a clean nail bed.
Step 3: Cleanse Your Nails
Wipe your nails with a lint-free wipe or cotton pad soaked in nail cleanser or isopropyl alcohol.
This removes any oils or debris, ensuring the gel adheres properly.
Step 4: Apply Gel Base Coat
Apply a thin, even layer of gel base coat to each nail, making sure to cap the free edge (the tip) of your nails.
Be careful not to touch your skin or cuticles with the base coat.
Step 5: Cure Under the Lamp
Place your hand with the wet gel base coat under the UV or LED lamp.
Follow the manufacturer’s instructions for your lamp, but a typical curing time is around 30 seconds to 2 minutes.
The lamp will emit the necessary UV light to cure the base coat.
Step 6: Apply Gel Nail Polish
Apply a thin, even layer of your chosen gel nail polish color to each nail, again avoiding contact with the skin and cuticles.
Cap the free edge.
Step 7: Cure Under the Lamp
Place your hand back under the UV or LED lamp and cure the colored gel polish.
The curing time may vary depending on the brand, but it’s typically 1–2 minutes per coat.
Step 8: Apply Additional Coats (If Necessary)
If you’d like more color intensity, repeat Step 6 and Step 7 by applying additional coats of gel polish, curing each coat under the lamp.
Most polishes require 2 coats of color.
Step 9: Apply Gel Top Coat
Apply a thin, even layer of gel top coat to seal and protect your manicure.
Again, cap the free edge of each nail.
Step 10: Final Cure
Place your hand under the UV or LED lamp for a final curing session.
This step usually takes 1–2 minutes.
Ensure your nails are fully cured, as this will give your manicure its longevity and shine.
Step 11: Cleanse Nails
Remove sticky residue on nails after curing by using a lint-free wipe soaked in nail cleanser or alcohol.
Skip this step if you’ve used a no-wipe top coat.
Step 12: Moisturize
Finish by moisturizing your hands and nails with cuticle oil or hand cream to keep your skin and nails hydrated.
And there you have it!
You’ve successfully cured your gel nails with a UV or LED lamp.
Can I use a UV or LED lamp with regular nail polish?
No, UV and LED lamps are designed specifically for curing gel nail products.
They won’t work with regular nail polish because it lacks the special ingredients needed for polymerization.
Are there any special precautions for curing gel-like polishes with a hair dryer?
When using a hair dryer to speed up the drying process, ensure it’s set to a cool or low heat setting.
High heat can cause bubbling and affect the final look of your manicure. Plus, it may hurt your fingers.
Can I use a UV or LED lamp to cure gel-like polishes for extra durability?
It’s not necessary to use a UV or LED lamp with gel-like polishes.
They are designed to air dry, and using a lamp may not provide any additional benefits.
So, as we’ve learned, it’s important to use a UV or LED lamp to properly dry your gel nails.
It may be tempting to use a hair dryer to speed up the process, but it won’t work for gel polish.
However, if you’re using a gel-like nail polish, you can give it a helping hand with a low heat setting on your hair dryer.
I hope this article has been helpful for you and that you’ll be able to make the most out of your nail polish with these tips.