It’s a nightmare if your fresh nail polish smudges hours later. Are you careful when applying nail polish, only to be left with a smudge in the finish at the end of the day? You spend time and money on your nails and you don’t want them to look less than perfect. After all, a manicure is supposed to last for at least a few days. It can be very frustrating! The temptation might be to scrub off the entire manicure but don’t be disheartened.
So what can you do to prevent smudging and to keep the polish looking fresh and vibrant? Follow these tips, and you’ll develop a better technique.
Why does my nail polish smudge hours later?
We have all experienced the frustration of a nail polish that dries too slowly and becomes easily smudged. If this happens to you, don’t give up. It is fairly easy to find out and fix the problem.
Applying nail polish correctly is key to a flawless, long-lasting mani. If you’ve accidentally smudged the polish, this is likely due to the following common mistakes:
1. You’ve used the wrong type of nail polish — gel nail polish instead of a regular one
If your nail polish doesn’t dry and smudges many hours later, it’s often because you may have accidentally selected the wrong type of polish.
You may have likely applied gel nail polish instead of regular polish and you will need a UV lamp to cure your polish.
So be sure to check the polish bottle’s label before you use it.
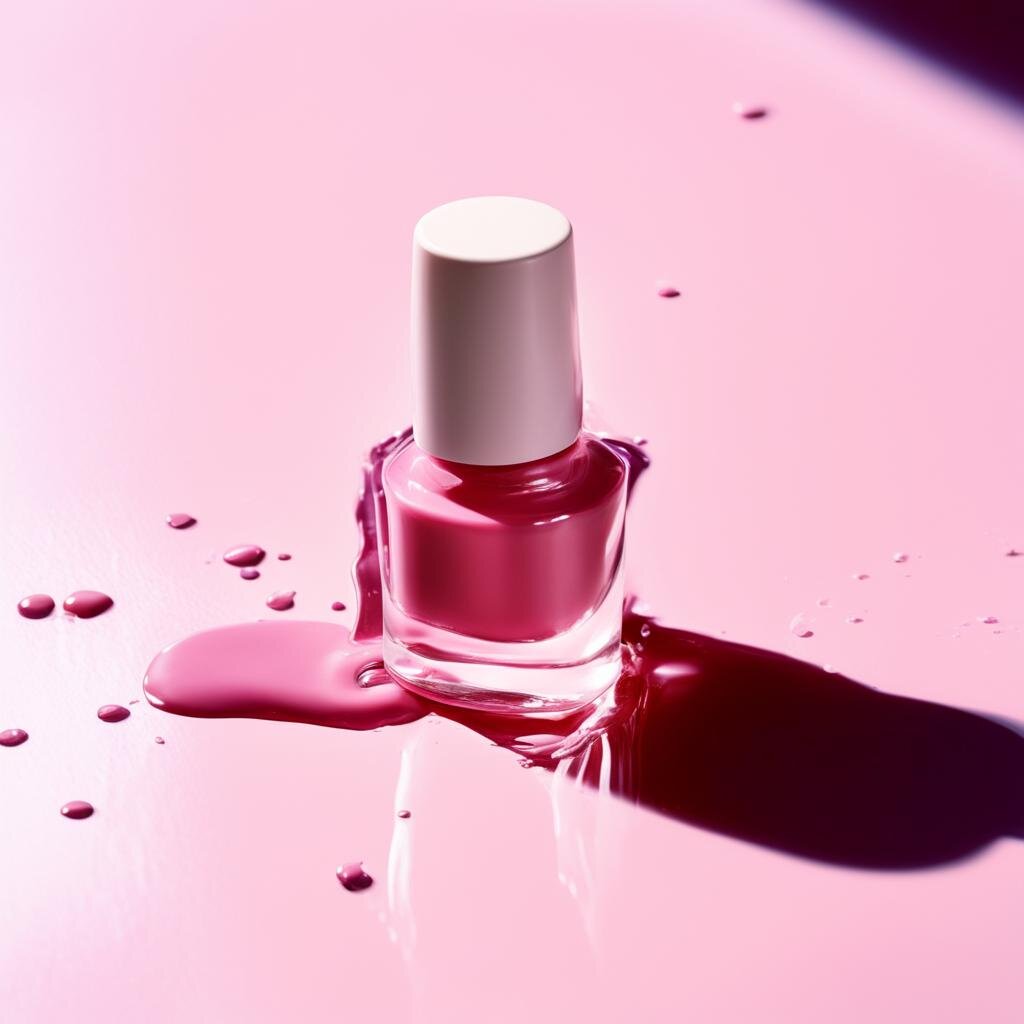
2. The nail polish layer was too thick
No matter what kind of polish you use, if you apply too much product the layer on your nails will be too thick.
Not only does this affect the look of your manicure because it becomes too bulky, but it can also cause your nails to become easily smudged or chipped.
Plus, applying too much polish may result in the polish bubbling, smearing, and looking messy.
The solution? Apply very thin coats. The polish will dry faster and look more even.
A thin layer is all you need to avoid many problems.
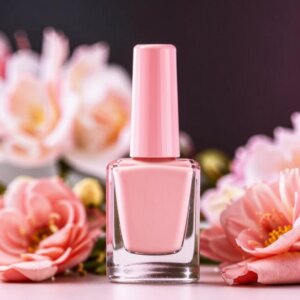
3. The polish itself is too thick and difficult to apply
To apply nail polish effectively and to get a great finish, the nail polish must have a good consistency.
The density of nail polish actually plays a big part in how well it’s applied. If the polish is too thick, it will be difficult to paint on, spread, and dry, and it will smudge more easily. Not every nail polish is thick, but some can be.
Make sure to test a sample of your chosen polish first to make sure it has the viscosity you want.
How to thin out nail polish
1. Use a nail polish thinner
Nail polish thinner can be a lifesaver when your nail polish is too thick.
It’s a special fluid that can change the consistency of your polish without interfering with its formula.
A nail polish thinner is a handy product to have around. This non-toxic liquid is a quick and easy way to thin out overly thick nail polish and make it easier to apply.
2. Add acetone
Some people add acetone instead of a nail polish thinner to the mix to thin out thick or lumpy nail polishes.
But acetone has a few drawbacks if you use it instead of a polish thinner.
It can interfere with the formula and lead to unexpected results. So it’s always better to use special professional nail polish thinner liquid instead of acetone.
3. Place the bottle in warm water
You can make nail polish less thick by placing the bottle under running warm water or in a bowl of warm water.
Just make sure the bottle is tightly sealed so no water gets inside.
This method works, but it’s important to remember that nail polish is flammable, so be careful and avoid placing it next to direct heat sources.
4. Your polish is too old and has gone bad
The life expectancy of a nail polish depends on the brand, however, most nail polishes have a two-year shelf life.
When the product goes bad, it will start to dry and thicken up, become clumpy, and will fail to dry properly. Then you’ll find that your nail polish smudges hours later.
The thickening of the polish happens because of chemical processes in the product.
That’s why you should always try to avoid using old products that have already gone bad.
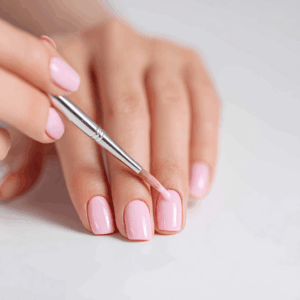
5. You haven’t let it dry between coats properly
So many of us forget to take the time to let it dry thoroughly between coats. If we’re in a rush, we may just slap on a second coat.
However, this takes away from the polish’s staying power.
Nail polish seems to dry fast, in 3-5 minutes. But this may not be enough for regular nail polish to harden completely.
When painting your nails, be sure to allow each coat of polish to dry well between applications.
This will help your manicure look smooth and professional.
Waiting 10 to 20 minutes before putting another coat on will prevent your nail polish from smudging.
What if you fail to wait between coats?
Even though nail polish seems to be completely dry on the surface it may take several hours for all the layers to be fully set.
For example, if some of the layers below the top coat were too thick or failed to dry before you’ve applied the final coat it may take up to 24 hours for all the polish underneath the surface to harden.
Your manicure will resemble a melted chocolate cake that is hard on the outside and has a runny center. So the polish can still smudge hours later.
How to check it?
If you can still feel the smell of solvents in your polish hours later then it’s not dry completely and may smudge.
Polish becomes odorless and hard when it’s 100% dry.
You can check the drying time of your polish before application by painting a few sample strokes on a piece of cardboard or paper
6. You’ve applied too many coats of polish
If you apply too many coats of nail polish, even if each coat is super-thin, the polish can fail to dry properly and will smudge hours later.
The gold standard for a professional manicure is first using the proper base coat to protect the nail before applying your nail polish.
Second, you need to apply two coats of color nail polish.
For best results, apply the top coat to seal the polish and ensure a smooth finish.
Only some sheer polishes require a third or even fourth thin coat of color polish.
In addition to that, don’t make the mistake of thinking that the immediate application of a second coat will fix any mistakes or smudges left on the first one.
It’s better to remove all the polish and re-do your nails or fix your manicure with a few simple tricks listed below.
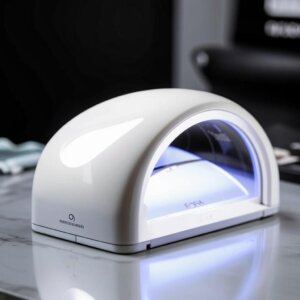
7. You haven’t cured gel nail polish properly
Gel nail polishes are nail polishes that dry under a UV light instead of air drying.
Gel formula lets this polish be more durable and last longer than regular nail polish.
It’s important to use a UV lamp to cure your gel polish after you’ve applied each layer.
If you don’t allow each coat to fully cure it won’t harden enough.
That means if you accidentally touch a gel polish spot before it’s fully cured, the spot may smudge.
It usually takes 30-120 seconds to cure one gel polish layer.
Most polishes can be cured in 60 seconds, so it’s easy to get a gel manicure done in under an hour.
Reasons your gel nail polish has failed to cure and smudges hours later:
- Your lamp is broken.
- Your lamp is too weak and doesn’t have enough power to cure your polish quickly. You need to keep your hand longer under the lamp.
- Your polish layers are too thick. Paint thinner coats of polish.
- Some LED lamps may not be able to cure some polishes due to the narrow spectrum of UV rays that they emit, although it happens rarely these days because most polishes are now formulated to work with LED lights. If this is the case use a pure UV lamp with bulbs to cure your polish since UV lamps have a wider spectrum of UV rays. Alternatively, you can get polish from another brand that would be more LED-friendly, like Gelish, for example.
- Your LED lamp’s LEDs are distributed unevenly so that there are blind spots and the light fails to cure some of the areas in your gel manicure.
8. You had left moisture, oil, or lotion on your nails before applying nail polish or gel polish
When you apply nail polish, you first have to make sure the surface is clean, de-oiled, and dry.
Damp or oily hands will make nail polish go on unevenly and the polish will fail to adhere properly.
It’s no surprise that your manicure won’t last as long if you apply lotion, hand cream, or cuticle oil first before nail polish goes on.
Oils from these products can weaken the bond between the polish and the nail’s surface.
Use moisturizers and cuticle oil only after you have finished your manicure.
9. The humidity of the room was too high and the solvents in the polish failed to evaporate fast enough
Have you ever painted your nails properly, following all the instructions, tips, and tricks only to have them smudge a few hours later?
Well, the culprit may be your lack of proper ventilation — particularly the humidity inside the room.
The solvent in the nail polish may not evaporate fast enough, and your polish may smudge.
How to prevent nail polish smudges hours later
1. Increase the time you wait between coats
When it’s time to apply another coat of polish, it’s important to wait for at least 10 minutes or even half an hour between coats.
Doing so will ensure your manicure stays smudge-free.
2. Reduce the number of layers with this simple trick:
If your polish is too sheer and requires 3-4 or even more layers to look smooth and leave no streaks you can apply a similarly colored but not sheer nail polish underneath.
3. Place your nails in a bowl of cold water
You can speed up the drying process by soaking your nails in a bowl of cold water a few minutes after nail polish application.
Add a few ice cubes to the water to make it colder. And before you put your fingers in the bowl don’t forget to wait for a few minutes until the polish sets a bit on its own.
The water helps to harden the surface layer of the polish.
However, this trick may not prevent nail polish smudges hours later if the layers underneath the top one are still soft. Make sure you’ve dried all the polish coats thoroughly before you do anything with your hands.
4. Use a quick dry top coat
A quick dry top coat is a top coat that dries faster than a regular top coat. Usually, regular top coats dry in about 10 minutes. A quick dry top coat can dry and feel non-sticky to the touch in about 30-60 seconds.
Quick-dry top coats also often come with other added benefits such as being chip resistant.
Applying a top coat over your manicure or pedicure helps keep your polish from smudging, flaking, and chipping.
If you apply a quick dry top coat as the final layer it will help your nails dry faster. Plus, it seals the polish layers underneath and creates a high-gloss finish.
Apply the base coat, and two color polish coats, wait a few minutes for the second color coat to dry, and apply the quick dry top coat.

I recommend the Seche Vite quick dry top coat because it dries in about a minute and gives your nails a long-lasting shine and strengthens them.
However, you still need to allow your polish to fully dry for at least half an hour after applying the quick dry top coat before doing anything with your hands if you want to be safe from smudges.
5. Cleanse and dehydrate your nails before you apply nail polish or gel nail polish
Avoid using lotions, hand creams, or cuticle oils before you apply nail polish.
Wipe your nails with 99% Isopropyl Alcohol and a lint-free wipe to cleanse their surface.
Don’t use paper towels or cotton for cleansing, since they leave lint behind.
When you’re finished cleansing, apply dehydrator to the nail plate to remove excess moisture. This will ensure the lacquer stays even better.

In addition to that, before you start doing your nails, don’t forget to push back the cuticles.
6. Use a high-quality powerful lamp with gel nail polish
If your lamp is too weak to dry your chosen gel nail polish quickly or fails to dry it at all you should think about getting a better-quality unit with enough wattage and a good distribution of LED lights to cure all your nails.
I recommend getting the SUNUV LED lamp.

It has 48W watts of power, which is enough to cure most gel polishes, gels, and polygels.
Plus it has a perfect distribution of LEDs so no part of your gel manicure stays uncured.
How to fix smudged nail polish without starting from scratch
If you’ve ever accidentally had your nail polish left with smudges hours later, you know how frustrating it can be.
Fortunately, there are a few simple solutions:
- If your nail polish is still wet dab a non-acetone nail polish remover on your fingertip, and then use that finger to smooth over the smudged area until it’s blended in.
- If the polish has already dried you can use a 240-grit buffer nail file to smooth out any rough textures from smudged polish.
After that, wipe away the dust. Apply the same color polish to areas where the color has been filed off or faded. Let it dry and cover it with a top coat.
In conclusion, sometimes, a manicure can look like it’s taken a beating. But it’s easy to fix and prevent once you know the reason. Plus, there are several steps you can take to keep your manicure looking nice.
Recommended reading:
Best Shellac Colors For French Manicure
Best Professional Gel Nail Polish Brands Used In Salons
Non-Toxic Gel Nail Polish Brands 101: Choose The Safest Gel Nail Polish
Best No Light Gel Polish — Gel Nail Polish Without UV Light
Best Gel Base And Top Coat: The Updated List Of The Best Gel Nail Base And Top Coat Sets
Best Small Salon Reception Desk For A Tight Space: Make An Amazing First Impression!