Are you looking for a unique way to add some sparkle and shine to your nails? Nail foil flakes might be just what you need! These metallic pieces of foil can be applied to your nails for a stunning and eye-catching effect. But how exactly do you apply nail foil flakes?
In this post, we’ll go over the steps and tips to achieve flawless nail art.
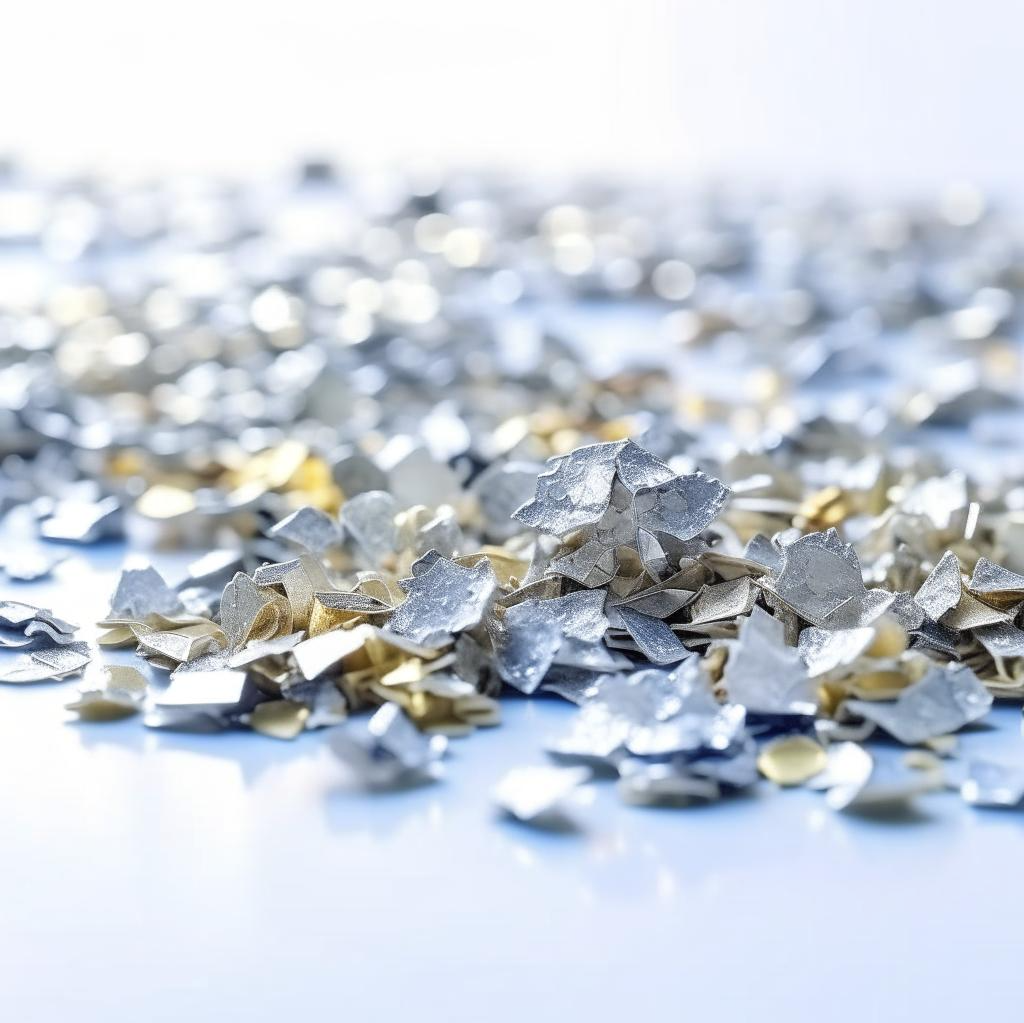
What are nail foil flakes?
Nail foil flakes are a type of nail art accessory made from thin, metallic sheets that are cut into small pieces.
They come in a wide range of colors.
From classic silver and gold to vibrant or pastel hues.
Plus, there are special effect flakes available too, like chameleon ones with color-changing pigments.
Nail foil flakes can be applied to the nails to create a variety of effects, such as a shimmering metallic finish or a textured and layered look.
These flakes can be used in combination with other nail art techniques like stamping, decals, or freehand painting.
You can place them on a subtle accent nail or create a full-blown glitter extravaganza.
Nail foil flakes are one of my favorite nail art accessories.
They’re so versatile and can quickly add a touch of glam, shine, and sparkle to any nail design.
This makes them perfect for special occasions, parties, or just for enhancing your everyday manicure.
Plus, they never fade. And good-quality flakes don’t oxidize.
Applying nail foil flakes is also a super-easy and budget-friendly way to experiment with nail art and try out different designs and techniques.
So if you want to do professional-looking salon-quality nail art at home, flakes are a great option to consider.
Tools and supplies you’ll need
For regular nail polish, you’ll need:
1. Nail foil flakes

They come in a variety of colors and can be found on Amazon or in beauty supply stores.
2. Regular nail polish top coat

This will be used as an adhesive for the nail foil flakes with regular nail lacquer.
3. Base coat

Base coat will protect your nails and create a smooth surface for the nail polish to adhere to.
4. Nail file
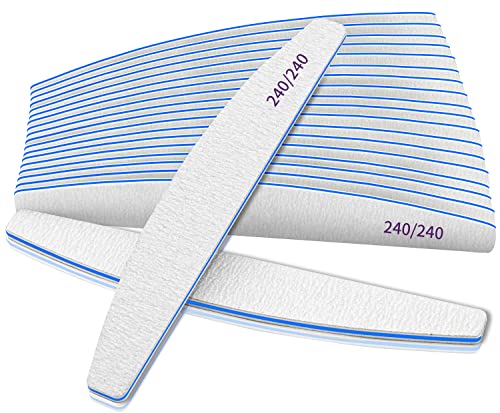
A file is needed to shape and buff your nails before applying the polish.
5. Silicone tool
This tool is used to press the nail foil flakes onto your nails and smooth out any bubbles or wrinkles.
6. Tweezers

Nail art tweezers are necessary for delicately removing the flakes from their jar or box and for placing them on your nails.
Some flake sets already come with tweezers included.
For gel nail polish, you’ll need:
1. Nail foil flakes
Any flakes that work with regular lacquer will stick perfectly to gel nail polish.
2. Top coat with a sticky layer
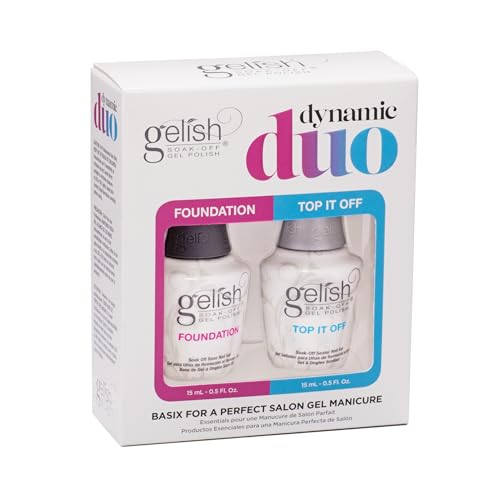
Select a gel top coat that leaves a sticky layer after you cure it.
This stickiness will be necessary to attach the nail foil flakes to your nails.
I use the popular Gelish base coat and top coat for all my gel nail art experiments. The top coat has a sticky layer.
3. Base coat
Similar to regular nail polish, a gel base coat is used to protect your nails and create a smooth surface for the gel polish to adhere to.
4. UV or LED lamp

A lamp is necessary to cure the gel polish and the sticky top coat.
5. Nail file
A nail file is used to shape and buff your nails before applying the gel polish.
6. Brush
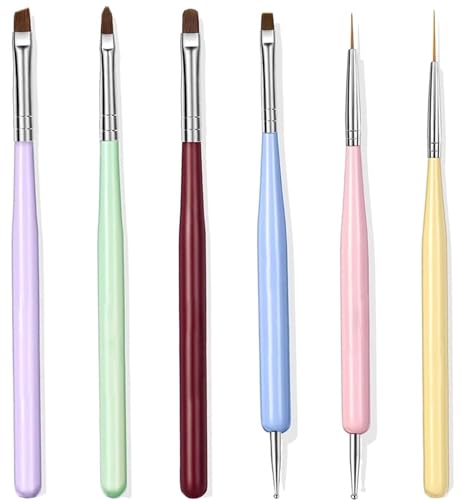
Use a small brush to apply polish and the top coat with a sticky layer and draw freehand designs.
7. Tweezers
Use nail art tweezers to pick up the flakes carefully from the jar and place them on your nails.
8. Silicone tool
Again, a silicone tool is used to press the nail foil flakes onto your nails and smooth out any bubbles or wrinkles.
Overall, the tools and supplies necessary to apply nail foil flakes to regular nail polish and gel nail polish are relatively similar. However, the key difference is the type of polish and top coat used.
For regular nail polish, clear nail polish or top coat is used as an adhesive.
While for gel polish, a top coat with a sticky layer is necessary to adhere the flakes to your nails.
How to apply nail foil flakes step-by-step
1. Prep your nails
Start by shaping and buffing your nails with a nail file, and push back your cuticles.
Clean your nails with nail polish remover or nail cleanser to get rid of any oils or debris.
If you’re using gel nail polish, you can also apply dehydrator and primer for the maximum longevity of your gel manicure.
2. Apply base coat
Apply a thin layer of base coat to your nails and let it dry completely.
If you’re using gel nail polish, cure the gel base coat with a UV lamp.
This’ll make the base coat harden and will create a smooth surface for the nail polish to adhere to.
3. Apply nail polish
Apply two coats of your chosen color of nail polish and let each coat fully dry.
With gel polish, cure each layer with a UV lamp.
4. Apply the top coat
For regular nail polish, apply a regular top coat.
Let it dry a bit.
You need it to harden slightly but still remain tacky.
For gel nail polish, apply a top coat with a sticky layer and cure it under a UV or LED lamp.
Don’t wipe away the stickiness.
You’ll need it for the nail foil flakes to adhere to.
5. Apply nail foil flakes
Pick up the flakes from the jar using nail art tweezers, then carefully apply them to your nails.
Gently press the nail foil flakes onto your nail surface using a silicone tool or your fingers.
The flakes should adhere to the sticky top coat and will stay on your nail.
6. Smooth out bubbles and wrinkles
You can use the silicone tool to smooth out any air pockets, bubbles, or wrinkles in the nail foil flakes.
7. Clean up
Use a small brush dipped in nail polish remover to clean up any excess nail polish or flake debris around your nails.
8. Seal with another layer of top coat
Once you’re satisfied with your nail design, apply a second layer of top coat to seal in the flakes and protect your nails from chipping.
For gel nail polish, cure the second top coat layer with a UV lamp.
This time you can use a top coat without a sticky layer.
And if you’re using a sticky top coat again, you can now wipe away the tackiness with Isopropyl Alcoholor a nail cleanser.
That’s it! With a little bit of practice, you can create beautiful and unique designs using nail foil flakes.
Using Nail Foil Flakes for Christmas and Holiday Nail Art

Nail foil flakes are an absolute must-have for festive designs!
These shimmering, lightweight flakes bring an instant sparkle to your manicure, making them ideal for Christmas and holiday-themed looks.
Pair them with Christmas-inspired gel nail polishes, like the Modelones Christmas Gel Nail Polish Set, and you’ve got yourself the ultimate festive combo.
For example, you can use a rich, deep red or sparkling green base, topped with delicate gold or silver foil flakes to mimic the look of twinkling holiday lights or frosty snow.
You can even mix and match the colors in the Modelones set—like their glittery white or bold red shades—with the foil flakes for extra dimension and elegance.
This combination is great for getting your nails ready for a Christmas party ir for adding a touch of holiday spirit to your everyday style.
Can I reuse the nail foil flakes?
No. Once you remove them with a cuticle remover they’ll be ruined, and you won’t be able to reuse them.
How long will the flakes last on my nails?
The longevity of the nail foil flakes depends on how well you’ve applied them and how much wear and tear your nails experience.
You can extend their life by applying a durable and high-quality top coat to seal them in and protect your nails.
Can I use nail foil flakes on acrylic or fake nails?
Sure, you can use them on any nails — on natural nails, as well as acrylic, gel, or press-on nails.
They’ll look amazing on long nail extensions!
Just make sure to apply a sticky top coat over your nail extensions before applying the flakes.
Then seal them in with another layer of top coat.
Can I combine nail foil flakes with other nail art techniques, such as stamping or hand painting?
Yes, it’s a great idea to combine these flakes with other techniques to create unique and creative designs.
Just always let each nail art layer dry completely before moving on to the next step.
Can I apply flakes over textured or matte nail polish?
It’s best to apply nail foil flakes over a smooth, glossy nail polish or a smooth matte nail polish.
In fact, these flakes look stunning when combined with a matte finish. And I really love this combination.
But I don’t recommend using them over textured nail polish or nail designs, or polishes that contain glitter and other particles.
This surface won’t be smooth enough for the flakes to adhere to.
So the design will end up looking messy and may lift.
Can I apply multiple layers of nail foil flakes?
Yes, you can layer them to create a more intricate or dimensional design.
Simply apply some flakes, seal it with another layer of sticky top coat, and repeat the process with additional layers as desired.
But don’t create too many of them.
This will make your nails look too thick and may cause lifting later on.
How do I remove nail foil flakes?
If you’ve applied your flakes on top of regular nail polish, simply use a cotton ball or pad soaked in nail polish remover.
Gently rub it over your nails until the polish with the flakes comes off.
If the flakes are stubborn, you can try placing the pad with the remover on your nails for a few minutes before wiping the design off.
With gel nail polish, use an acetone-based remover.
Hold the pad with the remover wrapped in foil for 10–15 minutes against your nail.
Use an orange wood stick to gently push away the softened polish and flakes.
What is the difference between nail foil flakes and nail transfer foil?
Nail foil flakes are small, irregularly shaped pieces of foil that can be placed onto the nails to create metallic or holographic accents.
Nail transfer foil comes in rolls and can cover the entire nail.
You can use both materials to create beautiful and unique nail art designs, but the application process is slightly different.
Roll foil should be cut and is best applied with glue.
How do I store my flakes?
To keep your nail foil flakes in good condition, store them in a cool, dry place away from direct sunlight.
You can keep them in a resealable bag, box, or airtight container to prevent moisture or air exposure.
Boxes with small compartments are really great for storing a whole collection of different colors.
If you’re looking for a cool and easy way to make your nails shine with metallic or holographic colors, then nail foil flakes are the way to go! They’re super fun to use, and you don’t need any fancy tools to create stunning designs.
So why not give it a try? You might just discover your new favorite nail art technique!