Polygel nails are traditionally made with dual forms. But today, I want to delve into the world of creating polygel nails with nail tips.
Trust me, this method is also worth trying. Let’s explore why I believe it’s a great choice:
1. Perfect Fit, Minimal Effort
The first benefit of using tips for polygel nail extensions is the ease of achieving a perfect fit and shape.
Unlike paper or foil forms that require meticulous cutting and fitting, tips come in pre-made shapes and various sizes.
This makes it easier to find the perfect match for your natural nails and make the shape you want if you’re a beginner.
This translates to less filing and a faster application process.
2. Strong Foundation
Using nail tips provides a solid foundation for your polygel nails.
Plus, when you’re applying glue for attaching the tips, you help your extensions to adhere securely.
This initial layer not only adds strength but also helps prevent any potential lifting, making your polygel nails stay put for weeks.
3. Versatility
The magic of polygel lies in its versatility, and using nail tips allows you to maximize this.
You have complete control over the length, thickness and apex of your extensions.
Whether you prefer a natural look or dramatic claws, the polygel can be molded to your liking.
This is where your artistic flair truly shines.
Polygel nails overview

Polygel is a unique type of nail enhancement used by nail artists and in DYI manicures.
Here’s the lowdown on what polygel nails really are:
1. Ingredients:
Polygel is a special mixture that combines acrylic powder and gel.
This gives it the right texture and consistency out of the tube.
2. How It’s Done:
You need to apply polygel in its paste-like state.
This will help you shape and mold it to your liking before it’s set or cured under a UV or LED lamp.
That’s what makes it so versatile and suitable for various nail styles.
3. Perks:
Light as a Feather: Polygel nails are lighter compared to traditional acrylic nails, so they feel comfy on your fingers.
Built to Last: They’re known for being strong and durable, which means less worrying about chipping or breaking.
Natural Vibes: When applied and shaped right, polygel nails can look impressively natural, almost like your own nails.
Versatile: Polygel can be used for extending nails or overlaying them.
4. Removing Them:
When it’s time to say goodbye to your polygel nails, the removal process usually involves filing them off.
Then, a little soak is used to remove the remaining stuff.
Polygel nails are gaining popularity in the nail world for their flexibility, resilience, and ability to create stunning nail designs.
They’re a fantastic choice if you want long-lasting and chic nail enhancements.
Nail tips overview
Nail tips are the foundation of fabulous artificial nails.
They are used instead of nail forms as the base for acrylic, gel, or polygel extensions.
Here’s the lowdown on what they’re all about:
1. What They’re Made Of:
Nail tips are thin extensions made of sturdy plastic or acrylic.
They come in different shapes and sizes to match your nails or the shape you want to create.
2. How They Work:
You can use these tips to give your nails extra length.
Just attach them to your natural nails using a special nail glue that holds them securely in place.
After that, use acrylics, hard gel, or polygel to build strong and long-lasting nail extensions using tips as the base.
3. Why They’re Used:
The main job of nail tips is to add length to your natural nails.
They’re like the canvas on which nail artists create beautiful designs.
Plus, they help shape your nails into all sorts of styles, from almond to stiletto, depending on what you like.
They make the application process easier for beginners.
4. Made to Fit:
Since nail tips come in different sizes, they can be tailored to suit your natural nails.
You can trim and shape them to blend seamlessly with your real nails and to create the desired shape.
How to apply polygel nails with tips
Tools and supplies
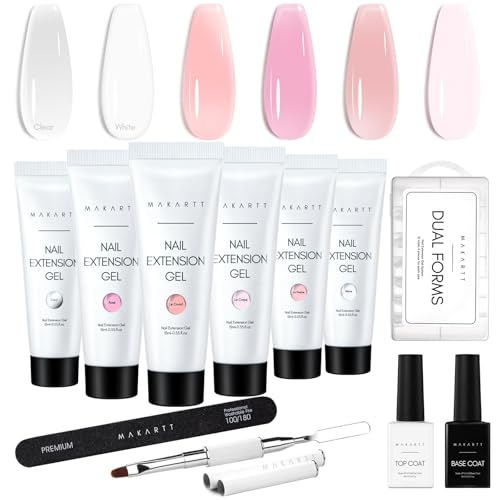
1. Polygel:
Choose your preferred color and brand.
You can get a kit with polygel tubes and most necessary tools, or you might need to buy some colors separately.
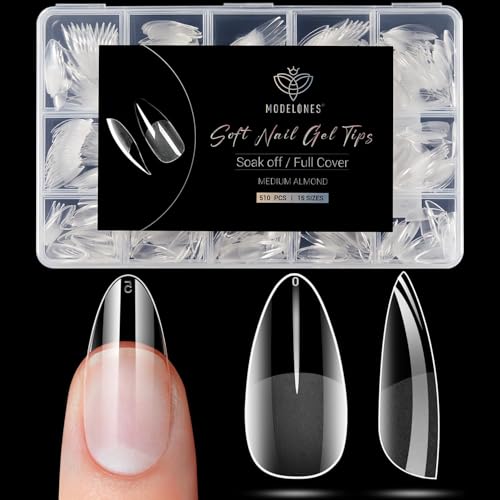
2. Nail Tips:
This is your starting point for extending your nails.
Make sure you choose ones that fit your natural nails’ width.
3. Nail Tip Glue:
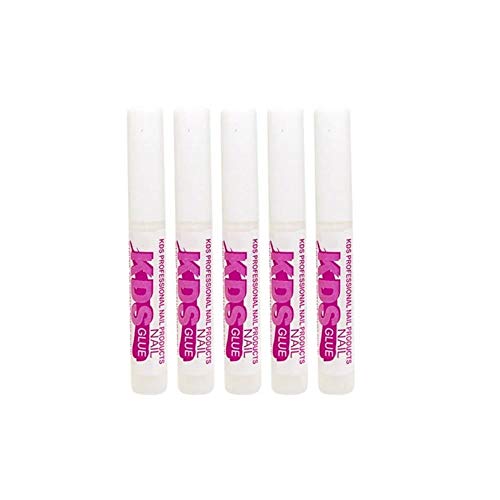
You’ll need a good-quality nail glue to firmly attach those nail tips to your natural nails.
4. Dual-Ended Nail Brush and Spatula:
This tool will help you with polygel sculpting.
One end with the picker lets you apply polygel from the tube, while the brush end helps you shape it.
5. Slip Solution:
This special liquid keeps the polygel from sticking where it shouldn’t and helps you to move and handle the material.
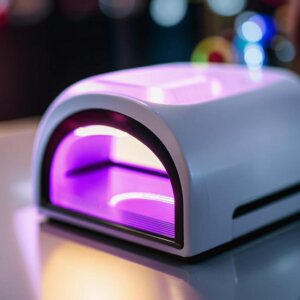
6. LED or UV Lamp:

The lamp is necessary for curing and hardening the polygel, gel base coat, and top coat.
7. Gel Base Coat:
This goes on your natural nails after you’ve attached the tips.
It’s like the foundation for a solid bond between your natural nails and the polygel.
8. Gel Top Coat:
Once you’ve shaped and filed your polygel extensions to perfection, the top coat adds that glossy finish and extra protection.
9. Nail File and a Nail Drill
These tools are needed for shaping and smoothing your polygel extensions and natural nails.
10. Cuticle Pusher:
It helps you gently push back your cuticles and get a clean canvas for your nail tips and polygel.
11. Dappen Dish:
This dish is necessary for keeping your slip solution within easy reach.
12. Cleanser and Lint-Free Wipes:
These help prep your nails before application and remove any sticky residue after curing.
13. Nail Dehydrator:

This special product preps your nails by removing any excess moisture and oils.
It’s a must for better polygel adhesion and for preventing lifting.
14. Primer (Optional):
Some nail techs use primer to give the polygel an extra grip on your natural nails.
It’s optional but can add some extra staying power.
How to do polygel nails with tips step-by-step
Step 1: Gather Your Supplies and Fit the Tips
Before you start, make sure you have all the necessary tools and supplies ready.
Select tips for each nail that match their widths perfectly.
If the tip is narrower than your natural nail bed, you can’t use it.
If it’s wider, you can file its sides down to make it fit.
Step 2: Prep Your Natural Nails
Begin by pushing back your cuticles gently with the cuticle pusher.
Use a nail file to shape your natural nails to your desired length and shape.
Apply a nail dehydrator to remove excess moisture and oils from your natural nails. Allow it to dry.
Use a nail primer for extra adhesion to prevent lifting.
Step 3: Select and Apply Nail Tips
Choose nail tips that match the size of your natural nails.
Apply a small amount of nail glue to the back of a tip.
Carefully press the tip onto your natural nail, ensuring it’s centered and aligned with your nail bed.
Hold it in place for a few seconds to allow the glue to set.
Step 4: Trim and Shape Nail Tips
Once the glue is completely dry, use nail clippers to trim the nail tips to your desired length.
Just make sure the tip is not longer than 2/3 of your natural nails.
Otherwise, it won’t be strong enough to hold the weight of the extension material and may crack with use.
Use a nail file to shape the tips to your preferred style, whether it’s square, round, almond, or stiletto.
Step 5: Apply Gel Base Coat
Apply a thin layer of gel base coat to your natural nails.
No need to apply it on the attached nail tips.
Avoid getting the base coat on your skin.
Cure the base coat under the LED or UV lamp for about 30 seconds.
Step 6: Apply Polygel
Take a small (pea-sized) amount of polygel using the spatula end of your dual-ended brush.
Place the polygel onto the base of your nail near the cuticles.
Apply the slip solution to lightly moisten both the brush and the polygel. This will prevent sticking.
Use the brush to spread and shape the polygel.
Cure the polygel under the lamp for the recommended time (usually 60–90 seconds), until it’s fully hardened.
Step 7: Repeat
Repeat step 6 several times to cover the entire nail and the tip.
Create the desired thickness and apex.
Repeat the polygel application process for each nail, one at a time, curing each one as you go.
Step 8: File and Shape
After curing, use a nail file and buffer to refine the shape and smooth any rough edges.
Be gentle to avoid damaging the polygel or your natural nail.
Step 9: Apply Gel Top Coat
Apply a thin layer of gel top coat to seal and protect the polygel extensions.
Cure the top coat under the lamp.
Step 10: Clean and Finish
Use a cleanser and lint-free wipes to remove any sticky residue from the top coat.
If desired, apply nail polish or nail art.
Congratulations! You’ve successfully applied polygel nails with nail tips. Enjoy your beautiful and long-lasting manicure.
Can I reuse nail tips for multiple applications?
No, tips aren’t meant for reuse.
They’ll get ruined during the removal process anyway.
Use fresh nail tips for each new application.
How do I choose the right size of nail tips?
You’ll want ones that match the width of your natural nail bed as closely as possible.
If they’re not an exact fit, you can file them down.
Just don’t use narrower tips.
How long do polygel nails created with tips typically last?
Well, with some tender love and care, these extensions can keep on looking fabulous for about 2 to 4 weeks.
But keep in mind, as your natural nails grow, you might need some maintenance to keep them looking top-notch.
How do I remove polygel nails with nail tips safely?
When it’s time to say goodbye to your extensions, file the polygel down with a nail file or a nail drill and trim away the tips.
Then soak off the thin polygel residue with some acetone-based nail polish remover.
After that, gently push it off with a cuticle pusher.
No forcing or prying, though, to avoid harming your natural nails.
Can I apply nail polish or nail art over polygel nails with tips?
Absolutely! Once your nail extensions are fully cured and filed smooth, you can go wild with nail polish, nail art, or decals.
Do I need to use a nail dehydrator and primer when using polygel nails with tips?
It’s always a good idea.
Using a nail dehydrator and primer can help the polygel stick better to your natural nails.
It’s like giving it a solid foundation, especially if your nails tend to get a bit oily or moist.
Any tips to keep my polygel nails from lifting or chipping?
The key to avoiding lifting or chipping is a clean canvas.
Prep your nails thoroughly with a dehydrator and primer.
Follow the application steps carefully and cure it under the lamp well.
This combo should keep your nails looking great.
Can I apply nail extensions over a damaged natural nail, like a broken or split one?
Make sure to allow your natural nails to properly heal and grow before applying polygel.
Applying it on damaged nails can pose a great risk. Never do that!
In conclusion, creating polygel nails with tips is a fun and easy way to achieve the perfect manicure.
With the right tools and a little bit of practice, you can create beautiful and long-lasting nails that will make you feel confident and stylish.
Don’t be afraid to experiment with different colors and designs, and remember that practice makes perfect.
So go ahead and give it a try – your nails will thank you!