Have you ever wondered why your gel polish or nail extensions chip or don’t last long? Well, the secret to achieving long-lasting and vibrant nail color is by properly preparing your nails, and that’s where a nail dehydrator comes in handy. Don’t worry if you’re not familiar with what a nail dehydrator is or how it works. In this article, we’ll explain everything you need to know about nail dehydrators.
We’ll start by discussing the benefits of using a nail dehydrator and how it can help you achieve a beautiful and long-lasting manicure. Then, we’ll dive into how nail dehydrators work and how to apply them correctly.
Let’s dive right in!
What Is the Purpose of Nail Dehydrator?
Before you dive into applying acrylics, gels, or nail polish, you need a clean and dry surface.
That’s where the dehydrator steps in.
It eliminates any moisture, oils, or lurking bacteria from your natural nail plate.
Better Adhesion, Longer-Lasting Results
You can’t stick something to a wet, oily surface – it’s not going to hold up well.
Nail dehydrator dries up your nails, creating a clean slate that allows your chosen enhancement to adhere like glue.
So this product helps gel nail polish and extensions last longer.
What to use it on?
Nail dehydrator should only be applied to your natural nails.
Also, no need to waste this product on fake nails or extensions – they won’t benefit from it.
In addition to that, keep in mind that it’s not meant for damaged or infected nails.
So if you’ve got any issues, best steer clear.
When to use nail dehydrator?
Use it after you’ve cleaned your nails and given them a good shape.
But before you start with the primer or bonder (if you’re using one) and base coat.
For an ultimate nail art grip, nail dehydrators are often used with nail primers or bonders.
They work hand in hand.
With the dehydrator drying up your nails, and the primer providing a sticky base that ensures your nail enhancement stays put.
Why should you use nail dehydrator?
You don’t absolutely need this product to do your nails.
But it brings some real benefits.
It makes your acrylics, polygel, hard gel nails, gel polishes, and even regular nail polish stick around longer.
That means less chipping, lifting, or peeling.
The difference between nail dehydrator and primer

These two products may seem similar, but each has its own role to play.
Nail Dehydrator: The Moisture Eraser
This product’s main function is to get rid of moisture, oils, and any bacteria sitting on your natural nail plate.
By doing this, it creates a canvas that’s dry, squeaky clean, and ready for nail enhancement application.
One key thing to remember about nail dehydrators is that they should be used before the primer or bonder steps in.
Nail Primer: The Sticky Foundation
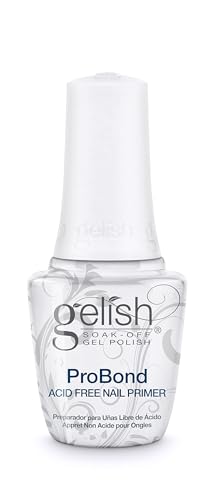
The primer’s job is to provide a super-sticky base that helps your chosen nail enhancement to adhere and stay put.
It works like double-sided scotch tape.
Primers come in three main types: acid-based, non-acid, and acid-free.
Each has its unique characteristics and best-use scenarios.
Acid-based ones are potent, but you need to handle them with care.
They really help if you have hyperhidrosis, for example.
Non-acid and acid-free versions are more gentle options, depending on your nail needs.
The Order of Use
Nail primer has to be applied after the dehydrator has done its thing.
This is because the dehydrator prepares the nail for primer or base coat, and the primer ensures your enhancement sticks like glue.
The Perfect Partnership
While you can technically use a nail dehydrator without a primer, nail primers really improve the adhesion and make your nail extensions stay longer.
So remember, it’s not about choosing one over the other.
It’s about letting them work together.
How to use nail dehydrator
Nail prep supplies and tools

1. Cuticle Remover and Cuticle Pusher.
Begin your manicure by including a cuticle remover and a cuticle pusher in your arsenal.
These two tools will help you tidy up your nails by removing cuticles.
2. Nail File and Clippers.
Use nail file and clippers to shape your nails and ensure they’re all uniform in length.
A smooth edge is key to a polished look.
3. Soap, Water, and Towel
Continue by cleaning your nails with soap and water.
Once they’re spotless, pat them dry with a towel or a lint-free cloth.
4. Nail Cleanser
Nail cleanser is the next step.
This specialized solution will further cleanse your nails, ensuring there is no debris left behind.
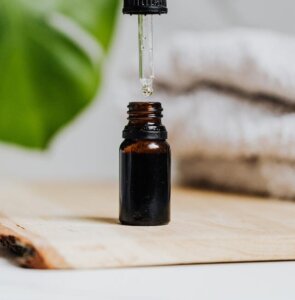
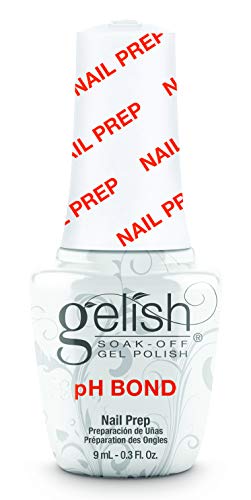
5. Nail Dehydrator
This is the step when you should use the dehydrator.
It’s usually available in a small bottle with an applicator brush.
6. Nail Primer or Bonder (Optional)
If you’re going for the maximum staying power or have problems like hyperhidrosis, prepare a bottle of nail primer or bonder as well.
7. Nail Enhancement Products
Finally, gather the nail enhancement products you plan to use.
Such as acrylics, gels, polygel, dip powder, or gel nail polish.
Step-by-Step Guide: How to Use Nail Dehydrator
Nail prep is a crucial step in the application of acrylic nails, gels, or nail polish.
Here’s a detailed guide:
Step 1: Gather Your Supplies
Before you begin, make sure you have all the necessary supplies at your fingertips.
Step 2: Prepare Your Nails
Start by tidying up your nails:
Use the cuticle remover to soften and remove excess cuticle growth.
Gently push back the cuticles using the cuticle pusher.
Shape your nails with the nail file and trim them to your desired length with clippers.
Step 3: Cleanse Your Nails
Ensure your nails are impeccably clean:
Wash your hands with soap and water, paying extra attention to your nails.
Rinse thoroughly to remove any soap residue.
Step 4: Dry Your Nails
Pat your nails completely dry with a towel or a lint-free cloth.
Even a dehydrator may not help if your hands are still wet.
Step 5: Apply Nail Cleanser
For an extra level of cleanliness, use a nail cleanser at this point:
Apply a small amount of nail cleanser to a lint-free pad.
Wipe away any remaining impurities on your nails.
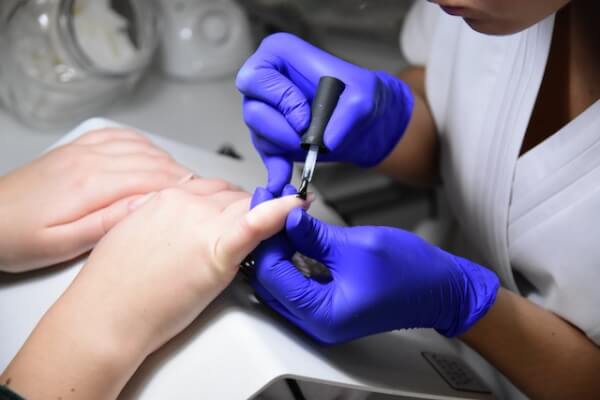
Step 6: Apply the Nail Dehydrator
Now, it’s time to bring in nail dehydrator:
Apply a small amount of dehydrator to each natural nail plate with the included brush.
Be precise, avoiding the skin and cuticles.
Do not apply the product to any plastic tips, forms, or other artificial nail extensions.
Step 7: Let It Dry
Nail dehydrators typically air dry very quickly, so be patient:
Wait for the solution to dry completely on your nails.
This usually takes just a few seconds.
Step 8: Proceed
with Nail Primer
If you’re planning to use a nail primer or bonder, now is the time to apply it:
Apply the product to the tip of each natural nail only.
Don’t cover the entire nail plate.
Step 9: Nail Polish or Extensions Application.
Continue with your chosen nail enhancement application: acrylics, polygel, gels, dip powder, or polish.
Can I Use Nail Polish Remover Instead of Nail Dehydrator?
Don’t do that!
A remover is formulated for removing polish, while the dehydrator preps your natural nail for new enhancements.
So, they serve different purposes.
How Often Should I Use Nail Dehydrator?
Before every nail enhancement application, make sure to apply it.
If you’re doing your nails frequently, it’s okay to use it regularly.
But be mindful not to overdo it, as excessive use can lead to over-drying.
Can I Make My Own DIY Nail Dehydrator?
While you can find DIY recipes online, it’s generally recommended to use a professionally formulated product.
DIY versions may not be as effective or safe, so it’s best to stick with a trusted brand, like Mia Secret.
Is It Suitable for Natural Nails or Just Extensions?
Dehydrators for nails are specifically designed for natural nails.
They’re formulated to prepare your natural nails for enhancements like acrylics, gels, or nail polish.
So, don’t hesitate to use them to boost the adhesion and longevity of your manicure.
What Should I Do If I Accidentally Apply Dehydrator to My Skin?
If you accidentally get the product on your skin, wipe it off with a clean, lint-free wipe.
It’s best to avoid skin contact, as it’s formulated for your nail plate and can dry skin.
Can I Use It on My Toenails?
Absolutely! This product can be used on both fingernails and toenails.
The same principles apply to prepping toenails before applying nail enhancements or gel nail polish.
So, nail dehydrator may seem like a subtle player in the world of nail enhancement, but its role is undeniably significant.
By creating a clean, dry canvas, it sets the stage for stunning and long-lasting nail art.
Don’t forget to use this product for your next manicure!