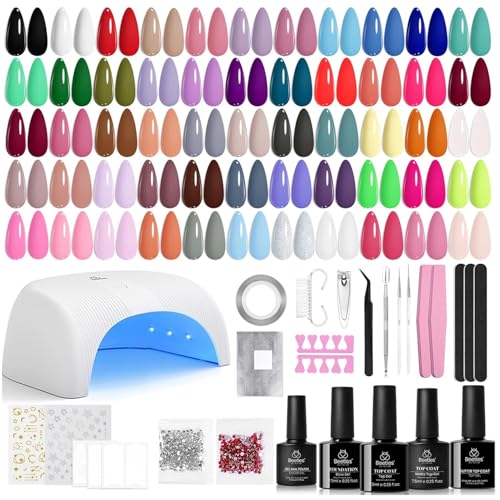
If you’ve ever painted your nails with gel polish, you’ve probably wondered how many coats you’re supposed to use. Too few coats and your nails look streaky. Too many and they chip or peel.
There’s a simple method to avoid these mistakes. Nail techs follow a coat routine that works for most gel polishes. You don’t need to guess or overload your nails to get that smooth, shiny finish.
In this guide, you’ll learn exactly how many coats of gel polish you should apply for a strong, long-lasting manicure. You’ll see why thin, even layers are better than piling on product. And you’ll get a step-by-step method that saves you time, product, and frustration.
What’s Happening Under Those Gel Polish Coats?
Gel polish isn’t like regular nail polish. You can’t let it air-dry. It needs UV or LED light to harden.
This process is called curing. Until the polish cures, it stays soft and sticky.
Each layer of gel polish has to cure all the way through.
If a layer stays soft underneath, it causes problems. The polish might lift, peel, or develop bubbles. These weak spots ruin the manicure and make it chip early.
The light used for curing doesn’t penetrate thick layers well.
That’s why applying a thick coat is risky. The top might look dry, but underneath, it’s still uncured. This hidden soft layer will break down with wear.
Thin, even coats let the light reach through the entire layer. When you apply polish in thin layers, the curing light can harden it from top to bottom. This builds a solid foundation for the next layer.
If you pile on too much polish at once, the light can’t do its job. The gel stays soft in the middle. This leads to lifting, dents, and other flaws. You might think adding more polish will fix it, but it only makes the problem worse.
This is why how you apply gel polish matters just as much as how many coats you use. Thin layers allow each coat to cure fully, creating a smooth, strong manicure that lasts.
So, How Many Color Coats Should You Really Do?
The short answer is two. For most gel manicures, two thin color coats will give you the best result.
One coat isn’t enough. Even if the polish looks pigmented in the bottle, a single layer often goes on streaky.
You’ll see patches where the color looks uneven.
The surface may also show brush marks.
A second coat fixes these problems by building up the coverage and giving you a smooth, even color.
But adding more than two color coats creates a different problem.
Each extra layer adds thickness. This bulk doesn’t make your manicure stronger.
Instead, it makes your nails more likely to chip or peel at the edges.
Thick layers also struggle to cure properly, leaving soft spots that weaken the entire manicure.
For about 90% of gel polishes, two color coats are enough to achieve a solid color and good wear.
The formulas are designed with this in mind. Most professional nail techs stick to this routine because it works reliably for a wide range of colors and brands.
That said, there are a few cases where you might need an extra coat.
Some sheer shades, like light nudes or soft pastels, may need a third thin layer to build up opacity.
Specialty finishes like jelly polishes or heavy glitters also behave differently.
But these are the exceptions, not the rule.
We’ll cover those special cases later. For now, you can trust that two well-applied color coats will give you the smooth, strong finish you’re aiming for.
Nail Pros Know: It’s Not Just Numbers, It’s How You Apply Them
Knowing how many coats to use is only half the story. The way you apply each layer matters just as much. A perfect manicure depends on small details that make a big difference in how your polish wears.
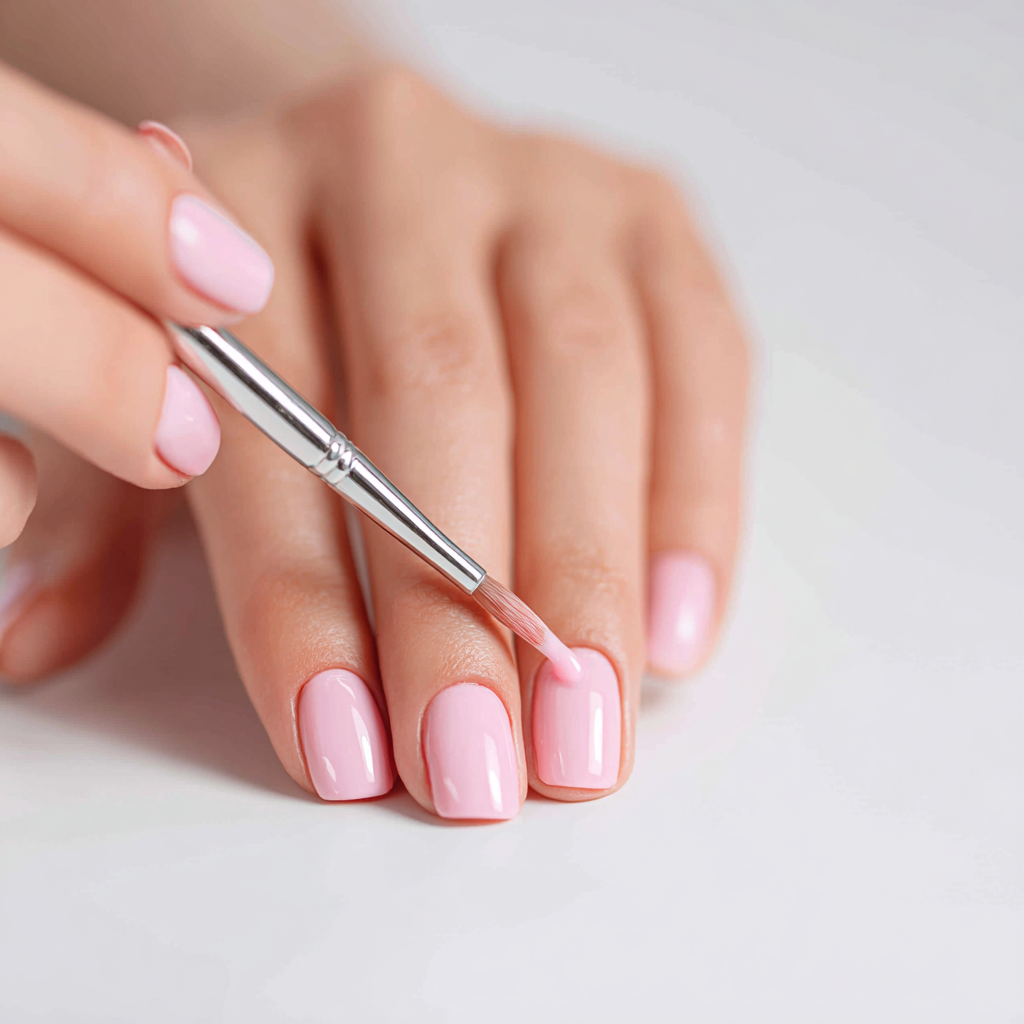
How Much Polish Should Be on Your Brush?
You don’t need to load your brush with polish.
Too much product causes uneven layers and makes it harder to control.
Before you touch the nail, wipe one side of the brush against the bottle’s neck.
The other side should hold just enough polish to cover the nail in a thin, even coat.
You want a smooth glide, not a blob.
Brushing from Cuticle to Tip—Without Flooding the Sides
Start about a millimeter away from the cuticle.
Press gently and push the polish up toward the cuticle without touching the skin.
Then pull the brush straight down to the free edge.
This will keep the polish off your skin and help the layer stay even.
After the center stroke, use the sides of the brush to sweep along the left and right edges, but keep control.
Don’t let the polish pool in the corners.
Capping the Nail Edge for Chip Resistance
Before you cure the coat, take the tip of the brush and lightly swipe it across the free edge of the nail.
This seals the edge with polish and helps prevent chips.
It’s called capping the edge. You only need a quick, light stroke. No need to overload the tip.
Common Mistakes to Avoid
Don’t rush. Curing times matter.
If you apply too much polish and cure it too quickly, the surface might seem dry, but underneath it’s still soft.
Also, again, don’t overload the brush.
Room Temperature Affects Polish Flow
If your room is too cold, your gel polish will thicken and become harder to spread.
This makes it difficult to apply thin coats.
Let the bottle sit in your hands for a minute to warm it up slightly.
A small change in temperature will help the polish flow better and apply smoothly.
When Should You Add a Third Color Coat? (It’s Rare, But It Happens)
Most of the time, two coats of color polish are enough. But there are a few situations where a third thin coat is useful. Not to fix mistakes, but to get the polish to look how it’s supposed to.
Sheer Nudes and Light Pastels
Some colors are designed with lower pigmentation.
Sheer nudes, milky whites, and soft pastels often need a third layer to reach full color payoff.
After two coats, you might still see your natural nail showing through.
A third thin coat helps build the color without making the nails look bulky.
Glitter and Jelly Finishes
Glitter polishes and jelly gels are made for layering.
These formulas are meant to be semi-transparent or textured.
Adding a third coat in these cases is normal and part of the design.
For glitters, extra layers add depth.
For jellies, it enhances the see-through, glassy look.
Keep It Thin Too
Even when a third coat is needed, you should still apply it thinly.
Don’t think of extra layers as a way to cover up mistakes like streaks or uneven spots.
If the first two coats were applied properly, the third layer is simply there to adjust the color or finish.
Adding more product won’t fix application errors. It will only create bulk and curing problems.
The third coat is a styling choice, not a repair job.
A Final Layer is the Top Coat
The top coat does more than make your nails shiny.
It seals your manicure, locks in the color layers, and adds a protective barrier.
Without it, gel polish won’t last.
This layer shields your nails from scratches, scuffs, and daily wear.
It also prevents moisture and air from getting under the color, which helps stop lifting and peeling.
To get full protection, you need to apply the top coat with care.
Start by brushing a thin, even layer over the entire nail surface.
Avoid rushing. If you go too fast, you’ll trap air bubbles that can weaken the seal.
Pay attention to the edges. Make sure you cap the free edge of the nail by swiping the brush across it.
This small step helps guard against chips at the tips.
The top coat isn’t a color coat, but it’s just as important.
Skipping it or applying it poorly can undo all the effort you put into the base and color layers.
A well-applied top coat gives your nails that smooth, glassy finish and extends the life of your manicure.
What Happens If You Mess Up Your Layering Game?
Getting the number of coats wrong can ruin a gel manicure. Too few or too many coats both cause problems, but in different ways.
Too Few Gel Polish Coats: Patchy and Weak
If you stop at one color coat, the polish may look streaky or patchy.
The coverage won’t be even, and you’ll see thin spots where the natural nail shows through.
A thin color layer also lacks structure, making it more prone to early chipping.
Too Many Coats: Thick and Unstable
Adding extra color coats to fix mistakes often makes things worse.
Thick, heavy layers create a bulky look that doesn’t wear well.
The more polish you pile on, the more stress you put on the free edge of the nail.
This leads to chipping and lifting.
Quick Cheat Sheet: Here’s Your Perfect Gel Polish Coats Lineup
Here’s a simple layer structure you can follow for a strong, smooth gel manicure:
- 1 Base Coat — Apply a thin, smooth layer to prep the nail surface.
- 2 Color Coats — Use thin, even layers for full coverage without bulk.
- Optional 3rd Color Coat — Only add if you’re working with sheer colors or special finishes like glitters or jellies.
- 1 Top Coat — Seal and protect with a thin, glossy layer.
Each layer should be properly cured before moving to the next.
So, to wrap up, for most gel manicures, two thin color coats are the golden rule. This method gives you a solid color without adding bulk.
Practice this layering technique and take your time with each step. You’ll get long-lasting, salon-quality results right at home, without wasting product or effort.
Want more cute nail ideas and kawaii beauty inspo? Follow us on Pinterest and meet our mascot, Sweet Angel Bird! You’ll find nail art moodboards, sparkly gel tutorials, and fresh inspiration for your next manicure.