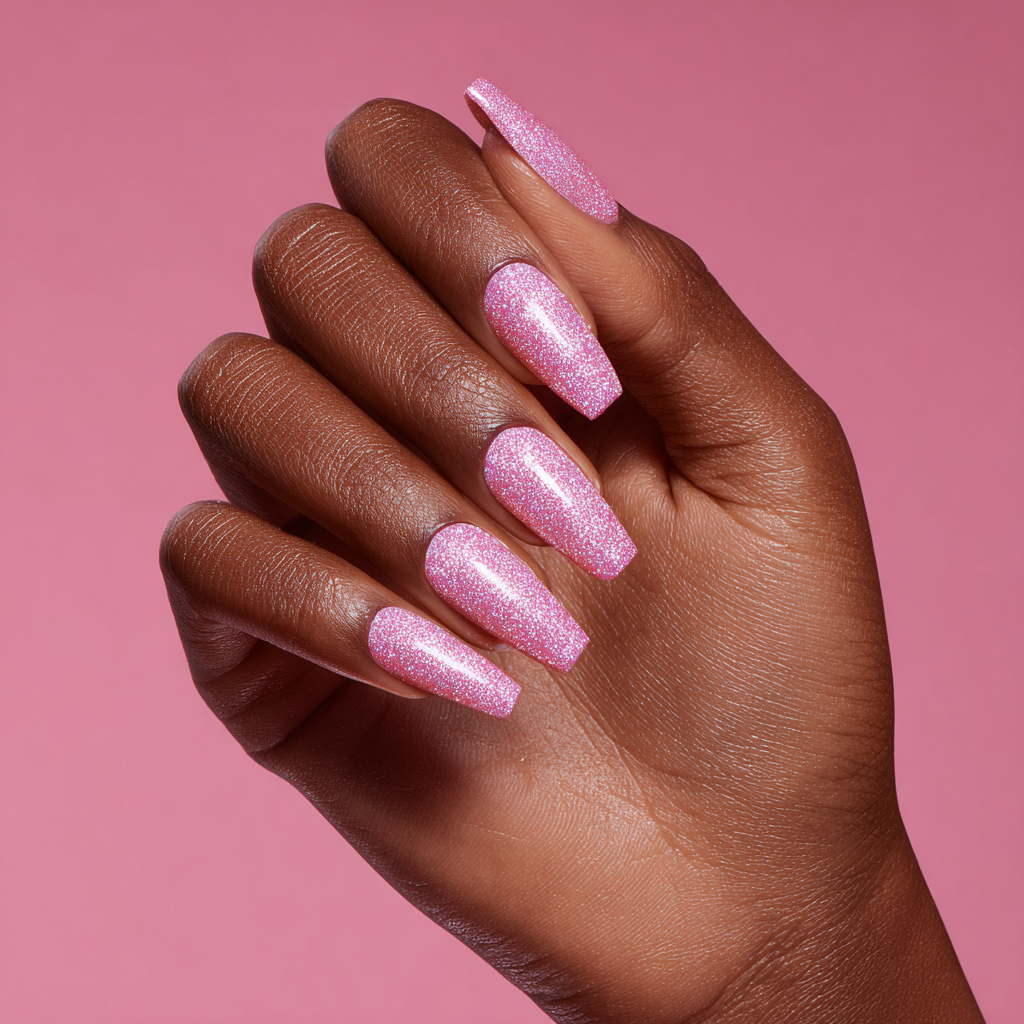
Acrylic full set is the best way to get super long, shiny nails with a smooth, solid look. It can give your nails a uniform, polished finish that can last for weeks. You don’t need to know anything fancy about nail chemistry to understand them.
In this article, I will walk you through what an acrylic full set is, how the process works, and what to expect when you sit in the nail chair. I will explain how to care for them, how long they last, and the things to watch for if you want healthy nails underneath. You will also learn some tips to pick shapes, colors, and styles that suit your hands.
Acrylic nails are not scary or complicated. They are just a layer of material shaped over your natural nails to make them longer, stronger, or ready for decoration. You will see how simple the steps are, what you can do at home to keep them looking good, and how to avoid problems that sometimes happen if nails are not cared for.
What Exactly Is an Acrylic Full Set?

An acrylic full set covers all ten nails with a layer of acrylic.
This layer can extend the length of your nails or just strengthen them.
Some people use tips to add length, which are glued to the end of the natural nail.
Others skip the tips and build the acrylic directly on the nail using forms.
Forms are thin, flexible templates that sit under your natural nail to help shape the acrylic as it hardens.
The material itself starts as a mixture of powder and liquid.
The nail technician dips a brush into the liquid monomer, then into the acrylic powder.
This creates a soft, moldable ball of acrylic.
They place it on your nail and spread it out.
You can see it shaping over your nail as it dries.
While it is soft, the technician smooths it, adds thickness where needed, and forms the shape you requested.
Acrylic dries in the open air.
You do not need a UV or LED lamp like you do with gel nails.
Once the acrylic is firm, the nail is filed and shaped to the style you chose.
You can pick square, almond, coffin, or round shapes.
After filing, a top coat or polish is applied.
The result is a smooth, hard nail surface that holds its shape and polish for weeks.
Acrylic nails are simple in concept but flexible in style.
They can make nails longer, stronger, or just provide a clean canvas for color and decoration.
Even if your natural nails are short or weak, a full set can give them a polished, finished look that lasts.
Why People Go for a Full Set
1. Length and strength
Acrylic full sets add length and strength to your nails.
If your natural nails are short, weak, or brittle, a full set gives them a solid layer that protects them from breaking.
You can do everyday tasks like typing, washing dishes, or opening packages without worrying about chips or cracks.
The acrylic acts like a shield, so your natural nails have a chance to grow underneath.
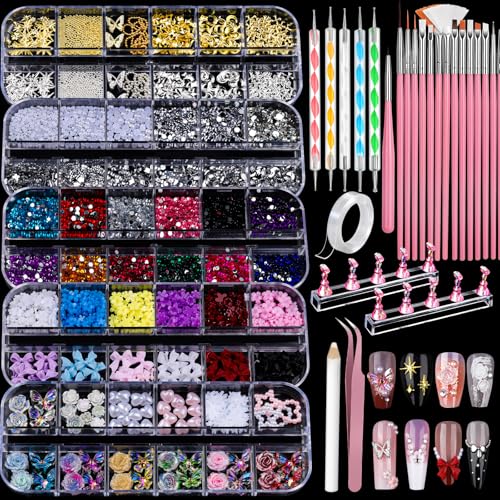
2. Smooth surface for nail art
An acrylic set also gives a clean, smooth surface that is ready for nail art.
You can paint them any color, add glitter, or try intricate designs.
The acrylic provides a sturdy base, so decorations stay in place longer.
3. Shapes like coffin, stiletto, almond
Bold shapes like coffin, stiletto, or almond are pretty much impossible to create on natural nails, so acrylic is a perfect material to use for making them.
4. Durability
Durability is another reason people choose full sets.
Regular nail polish can chip in a day or two, but acrylics hold up under normal activities.
They last through chores, workouts, and typing without losing their shape.
5. Flexible building material
Finally, acrylic nails are flexible in style.
You can pick short, natural shapes for a subtle look or long, dramatic shapes for a statement.
They suit different moods and outfits.
A full set lets you experiment with length, shape, and design while keeping nails protected and polished at the same time.
The Process, Step by Step
1. Nail prep

Getting a full set of acrylic nails starts with prep.
Your nails need to be clean and dry.
Trim them to a manageable length and push your cuticles back gently.
Remove any oils or leftover polish from the nail surface.
This helps the acrylic stick and prevents lifting later.
2. Apply tips or forms

There are two main ways to add acrylic.
The first is with nail tips.
Tips are glued to the ends of your nails to create extra length.
Once they are in place, the acrylic goes on top, covering both your natural nail and the tip.
The second method uses nail forms.
Forms sit under your nail and act like a mold.
Acrylic is applied directly on top of your nail and over the form to sculpt the length and shape.
The form is removed after the acrylic hardens.
3. Applying an acrylic mixture
The acrylic itself starts as a powder and liquid.
You dip a brush into the monomer, then into the powder, making a soft ball of acrylic.
Place it on your nail and gently spread it to cover the surface.
Smooth the surface with the brush while it is still soft.
4. Air drying
The acrylic hardens on its own in the open air.
Some salons may use a fan to speed this up, but no light is needed like with gel.
5. Filing and shaping
After the acrylic is firm, it is time to shape the nails.
Use a file to create your chosen silhouette: square, almond, coffin, or round.
Check the thickness and smooth out any bumps.
You want a uniform surface that looks clean and natural.
6. Polish or nail art
The final step is polish or nail art.
You can keep it simple with a solid color, add glitter, or try a design.
The acrylic provides a smooth, strong base that keeps polish and art looking fresh for weeks.
Once finished, your nails feel solid and ready for daily activities.
Care and Maintenance
Once you have a full set of acrylic nails, taking care of them helps them last and keeps your natural nails healthy.
1. Fill or rebalance
One of the main maintenance steps is called a “fill” or “rebalance.” As your natural nails grow, a gap appears near the cuticle.
Every two to three weeks, a nail technician fills in this space with new acrylic.
This keeps your nails strong and prevents lifting.
2. Protect your nails
You can also protect your nails in daily life.
Wearing gloves for chores like washing dishes or cleaning helps prevent chips and cracks.
Acrylic is strong, but constant water exposure or harsh chemicals can weaken it over time.
3. Care for your cuticles

Cuticles need care too.
Applying cuticle oil a few times a week keeps the skin around your nails soft and prevents dryness or cracking.
You can massage the oil gently into the base of each nail. Healthy cuticles help nails look neat and keep acrylic from lifting.
4. Don’t use your nails as tools
Avoid using your nails as tools.
Prying things open, scratching, or picking at surfaces can stress the acrylic and cause damage.
Treat them like a strong, long layer that needs gentle handling.
5. Remove with care
Removal requires patience.
Never pull or force acrylic off.
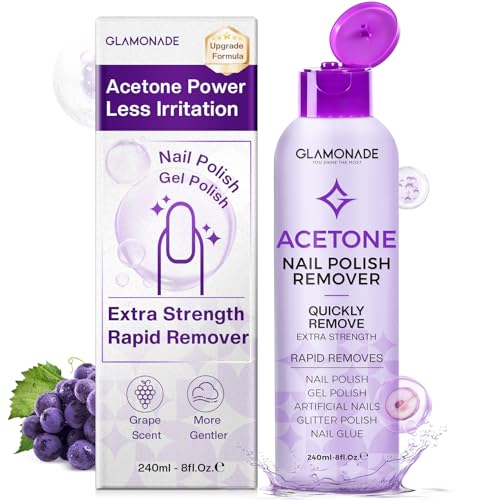
Instead, soak your nails in acetone to soften the acrylic.
After a few minutes, gently push off the softened material with a cuticle stick or pusher.
Rushing this process can thin your natural nails and cause damage.
With proper care, your acrylic full set can stay neat and polished for weeks.
Fills, gentle handling, and regular cuticle care keep them looking smooth and strong.
These habits make your nails easier to manage and protect the natural nail underneath.
How Long Does an Acrylic Full Set Last?
Acrylic full sets can stay in place for a few weeks before you need a fill.
On average, they last about two to five weeks.
Some people keep them for six to eight weeks if they take good care of them and get regular maintenance.
The exact lifespan depends on a few things.
Your natural nail growth plays a role.
Nails that grow quickly will create a larger gap near the cuticle sooner, so you might need fills more often.
Regular fills maintain the structure and prevent lifting.
Daily activities matter too.
Tasks that bend, press, or put pressure on your nails can make acrylic lift or chip.
Care habits make a difference.
Again, wearing gloves during chores, avoiding harsh chemicals, and not using your nails as tools, extend the life of your set.
Tips for Choosing Your Full Set
Choosing a full set of acrylic nails starts with picking the right shape for your hands and lifestyle.
Square shapes are sturdy and easy to manage, which works well if you use your hands a lot.
Almond shapes give nails a longer, elegant look without being too sharp.
Coffin or stiletto shapes create a dramatic edge, but they require more careful handling.
Think about what fits your daily activities and comfort level.
The salon you choose matters. Look for a place that uses safe, EMA-based acrylics.
Avoid MMA-based products, which are banned in many places because they can harm your nails.
A reputable salon will follow hygiene standards and use the right products to protect your nails.
Clear communication with your nail technician helps.
Tell them the length, shape, polish, and style you want.
If you have concerns about nail health, speak up.
A good technician will adjust the full set to suit your nails and make suggestions if needed.
Ask about the salon’s ventilation and removal methods.
Acrylic fumes can be strong, so proper ventilation makes the process safer.
Also, knowing how they remove acrylic will let you prevent damage to your natural nails.
If you are unsure about a shape or style, ask your technician for advice.
They can show examples and explain which options work best for your nail type and daily life.
An acrylic full set gives you a way to express your style while protecting your natural nails.
It’s strong, versatile, and can hold color, art, or dramatic shapes that last through everyday life.